Deny Pages
Deny Page Overview
The WebAdmin supports the creation of custom Deny pages that Netsweeper will serve when a website falls into a specific filtering Category. You can include text and images specific to that filtering Category and even redirect recipients to another URL for reference – such as a page containing the organization’s Internet Use Policy. Or, for example, a Deny page for a gambling site might redirect the user to a website for dealing with gambling addictions.
See: Deny Page Overview
Custom Deny Pages
Creating a Deny Page
You must create a new custom Deny Page before you can create a Deny Page Rule for it or assign it a priority. The priority of the Rule is important in cases where Netsweeper assigns a website to multiple Categories. The priority list of Rules determines which Deny Page is served to the user requesting the content: Netsweeper serves the Deny page representing the highest-priority rule.
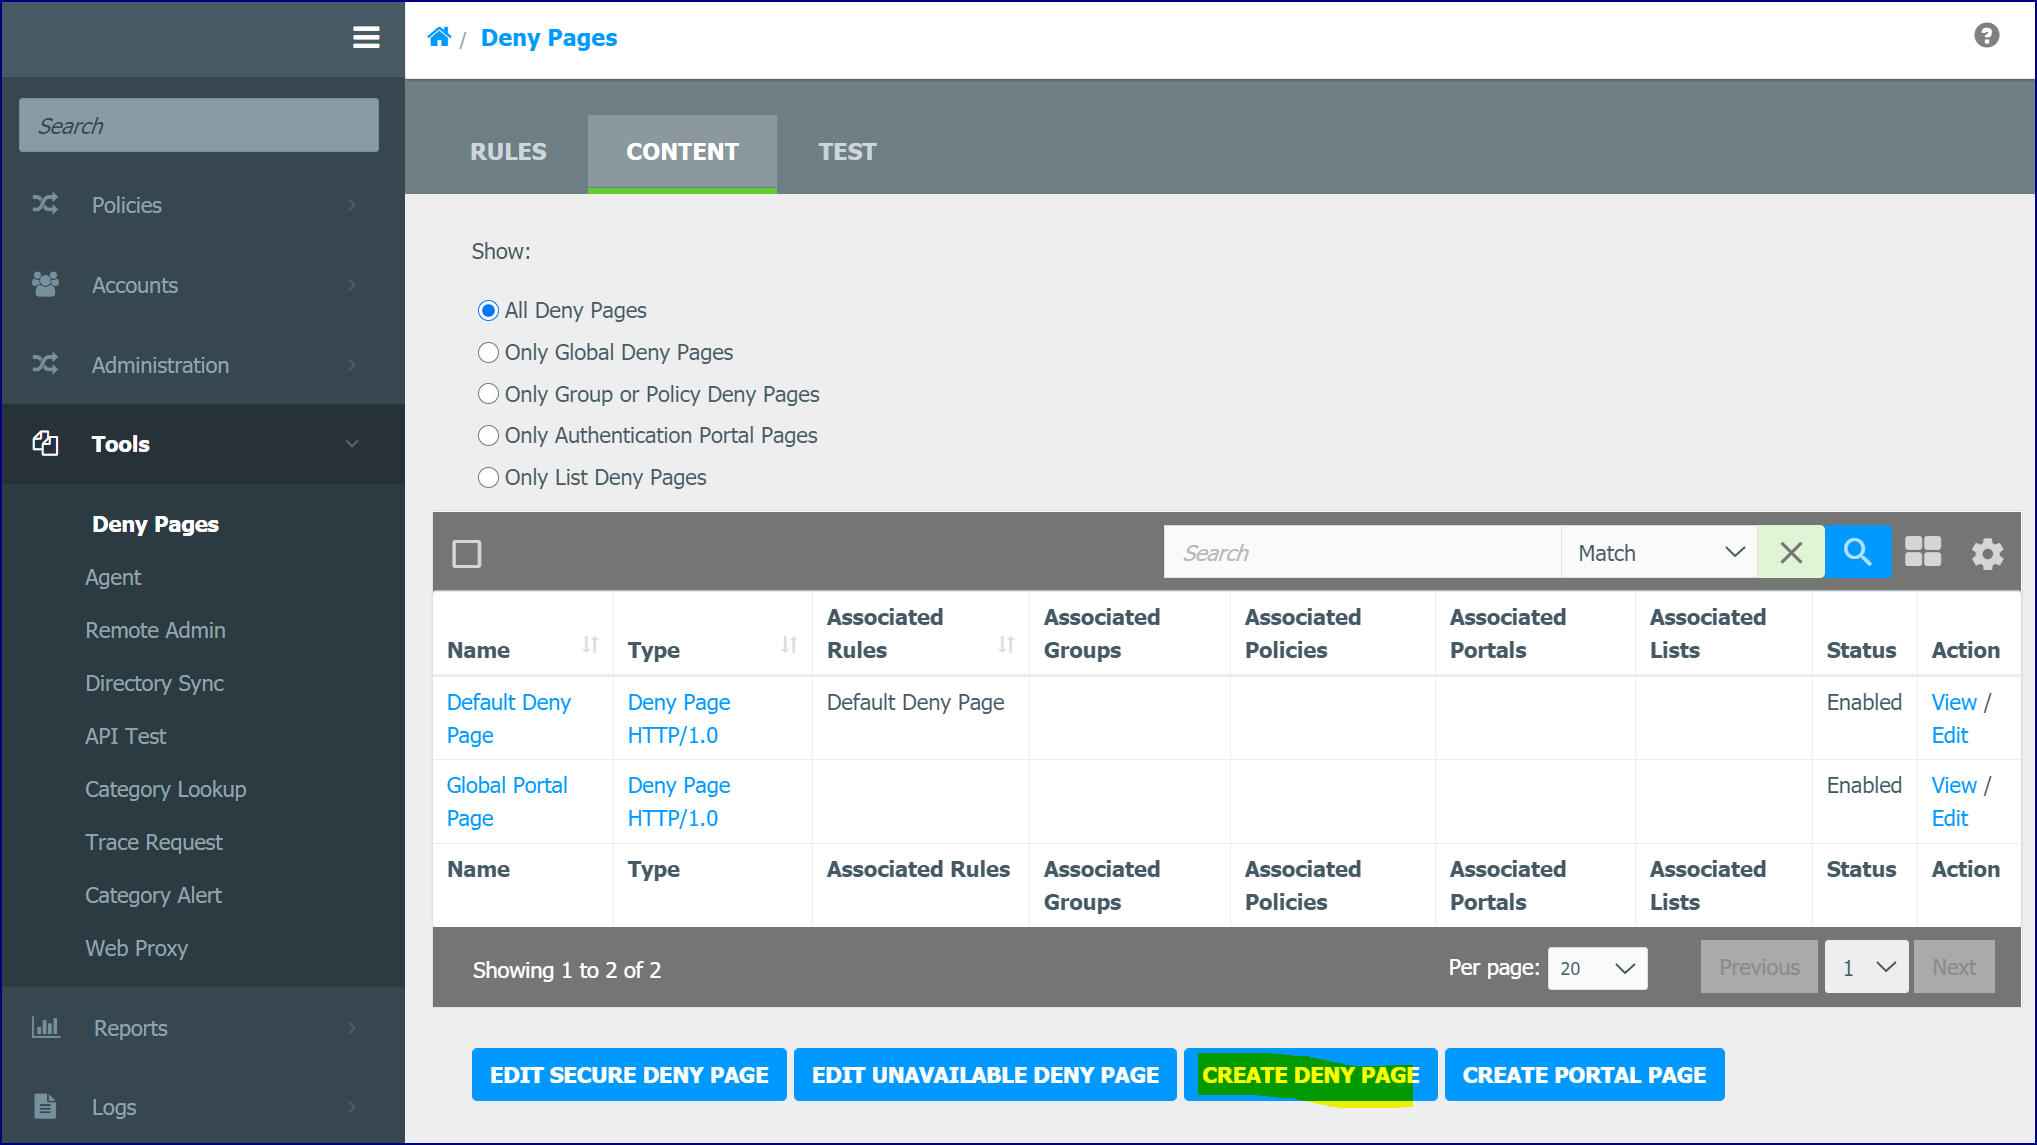
- Go to Tools > Deny Pages.
- Click the Content tab and then click the Create Deny Page button.
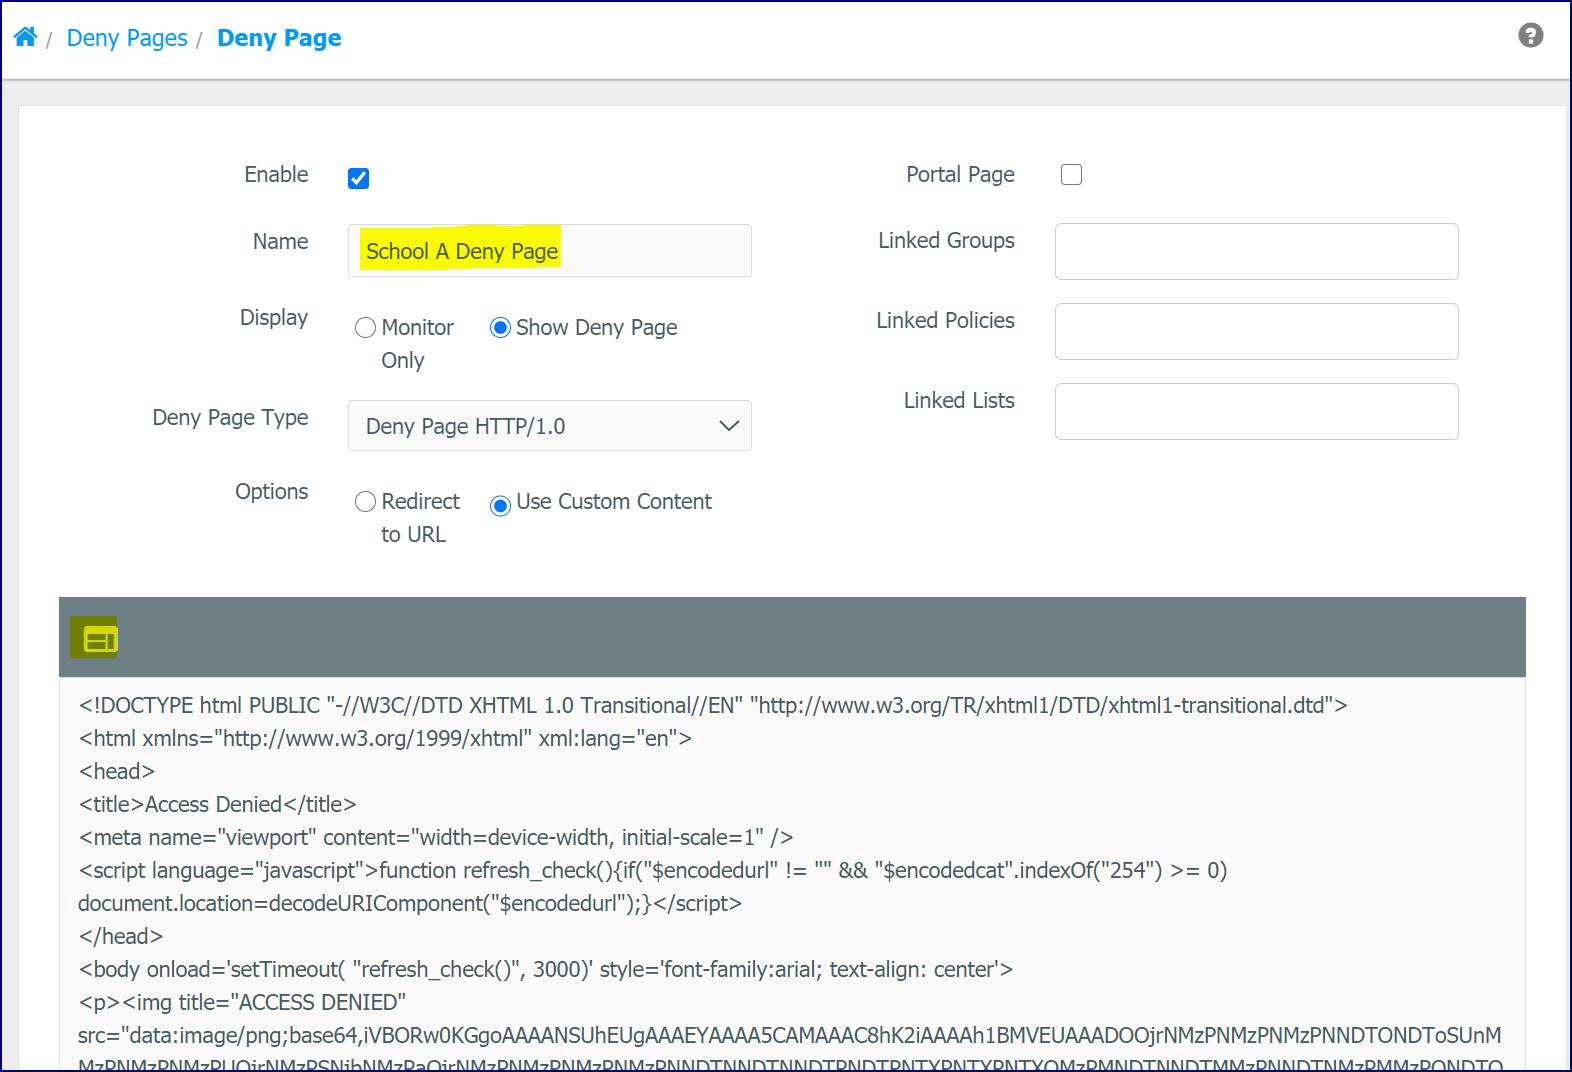
- You can name the Deny page and edit or paste html code from another source.
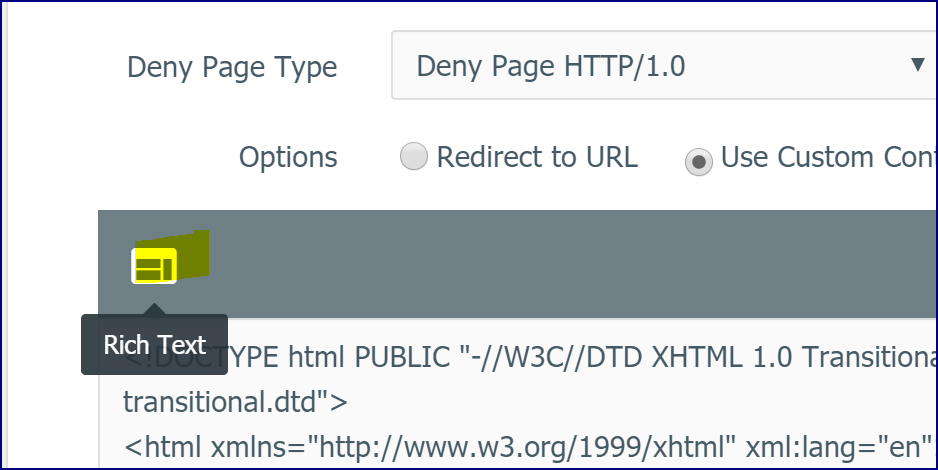
- You can also click the Rich Text toggle button in the Table Header to display Rich Text mode.
- This page includes different buttons and formatting options as well menu options for Rich Text editing.
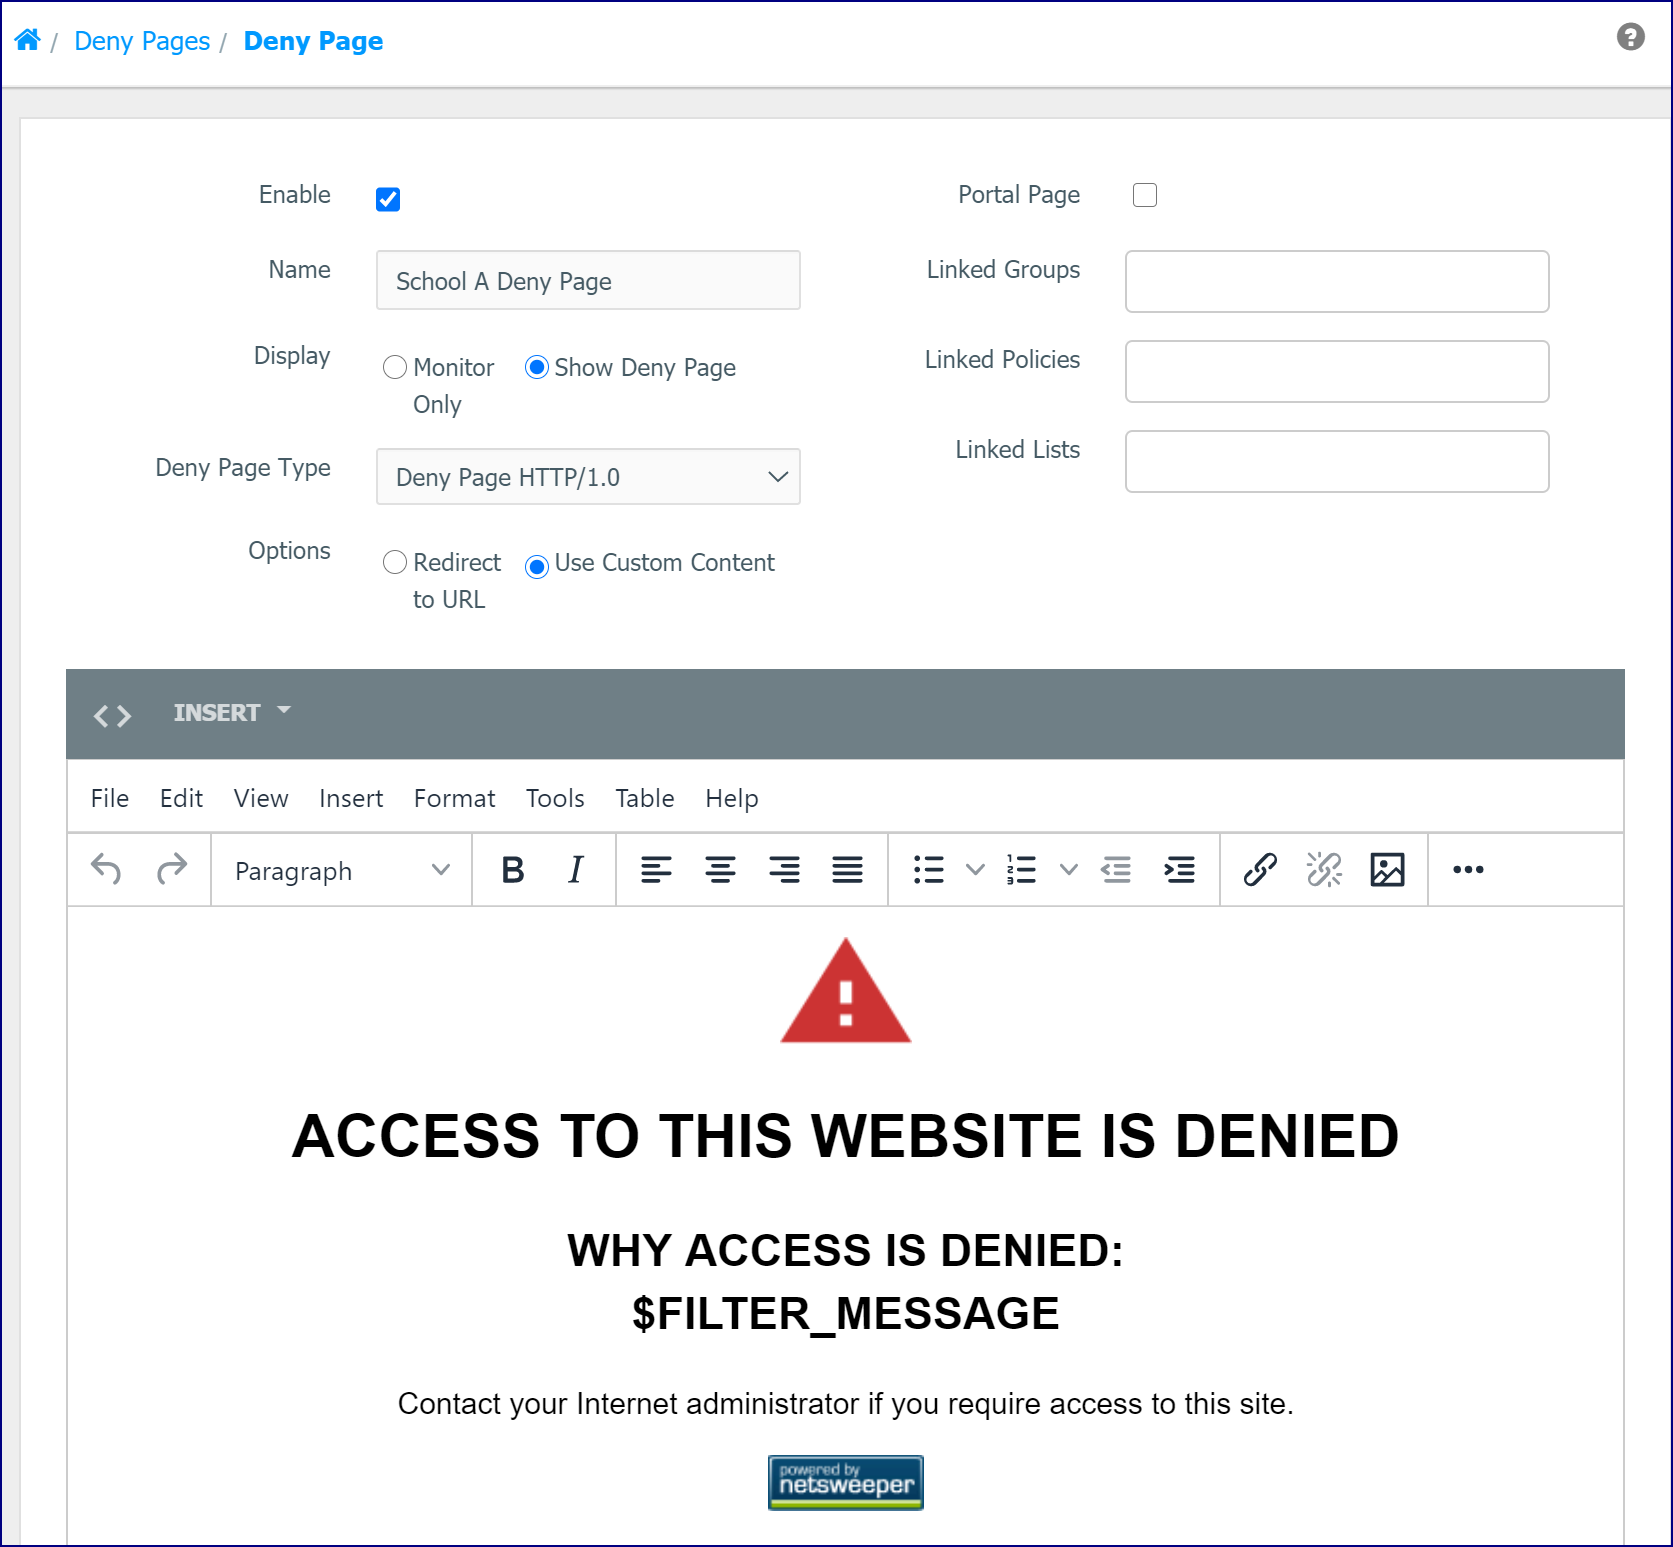
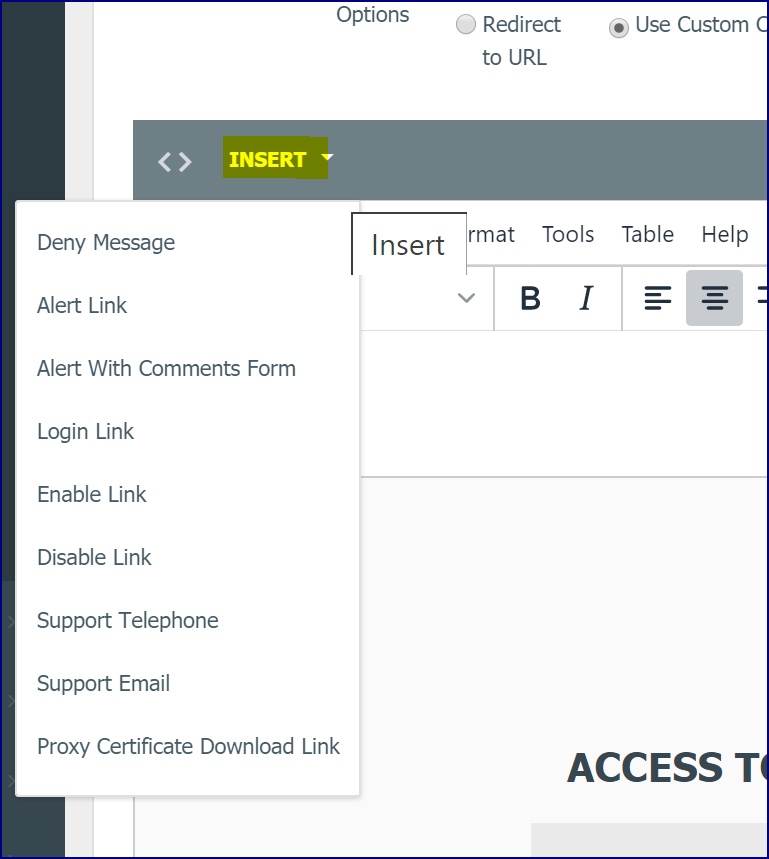
- The Table Header Bar in 'Rich Text' mode allows you to insert HTML links for your deny page.
- Fill in the page based on the information in the table below. When done editing the page, click Submit to save the changes.