What is a Filtering Policy?
What is a Filtering Policy?
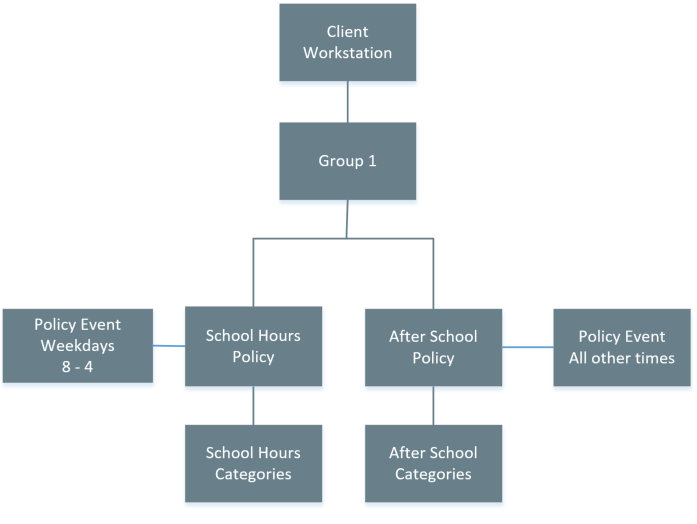
A Filtering Policy is a set of rules or settings that the Netsweeper Policy Service uses in making decisions about whether requests for Internet content should be allowed or denied. The Netsweeper solution allows you to create one or more unique policies for groups of Clients, (people, workstations, or other devices). Each client has a corresponding Client record in the system. The Netsweeper system doesn't tie Client records directly to Filtering Policies. Instead, all Client records are members of Client Groups (even if a Group consists of only one Client record) and each Group owns one or more Filtering Policy records. The Netsweeper solution also allows you to apply different Policies to a Group and its Client members at different times of the day or week.
One Policy is designated as the 'default' policy for a Netsweeper installation. Netsweeper applies this Policy if the Client or Group making a request is unknown or not yet configured. Each Group, when created, automatically has one Policy with some default settings specified in the 'WebAdmin Settings'. That Policy is named 'default,' which can be used as a template in creating new Policies for the Group.
Each filtering Group can have either one or many Policies. If there are many, each Policy applies to a different time segment.
The Basic Elements of Filtering Policies
Basic Elements of Filtering Policies
All Group Policies contain the same basic elements:
- A set of selected content categories
- A setting for the default status, which determines whether the sets of selected categories and protocols are allowed or denied
- Lists that let you add and manage URL/Keywords to Local and Shared Lists for the Group. These Lists allow exceptions to the selected content categories and protocols on the individual Policy. Individual Policies start out with an empty Local URL/Keyword List, but Admins or System Operators (SysOps) can add entries by importing lists or by manually creating List entries. See 'Policy Management - Lists' for more information.
Configuring the Default Group and Policy
The Master Admin defines the elements of the default Policy by configuring certain settings in the ‘WebAdmin Settings’ window. Later, Admins or System Operators (SysOps) create Groups and Policies. Each Group is created with a Policy named ‘default’. This default Group Policy initially shares some settings with the default system Policy, but the Admins and SysOps can rename it and complete the optional features so that it is radically different from the default system Policy. In addition, the Admins and SysOps can clone this Policy and then alter it to create additional Policies that govern different portions of the Group’s week.
Rather than create individual filtering Policies for each user (a Client), it is more efficient to create a few Filtering Policies with a Group of users that share similar filtering requirements. The basic concept of Policy management within the Netsweeper filtering solution is that Clients are assigned to Groups that have Filtering Policies applied with Time Segments.
Group, Policy and Category Templates
Template-driven Group and Policy management allows you to standardize Group settings using Group, Policy and Category Templates. Please see 'Policy Management – Templates' for more information.
Categorizing Internet Content for Filtering Policies
Categorizing Internet Content
Category filtering is the sorting of URLs into subject categories for subsequent filtering based on that subject content. It forms one of the core technologies used in the Netsweeper filtering system.
Categorization Basics
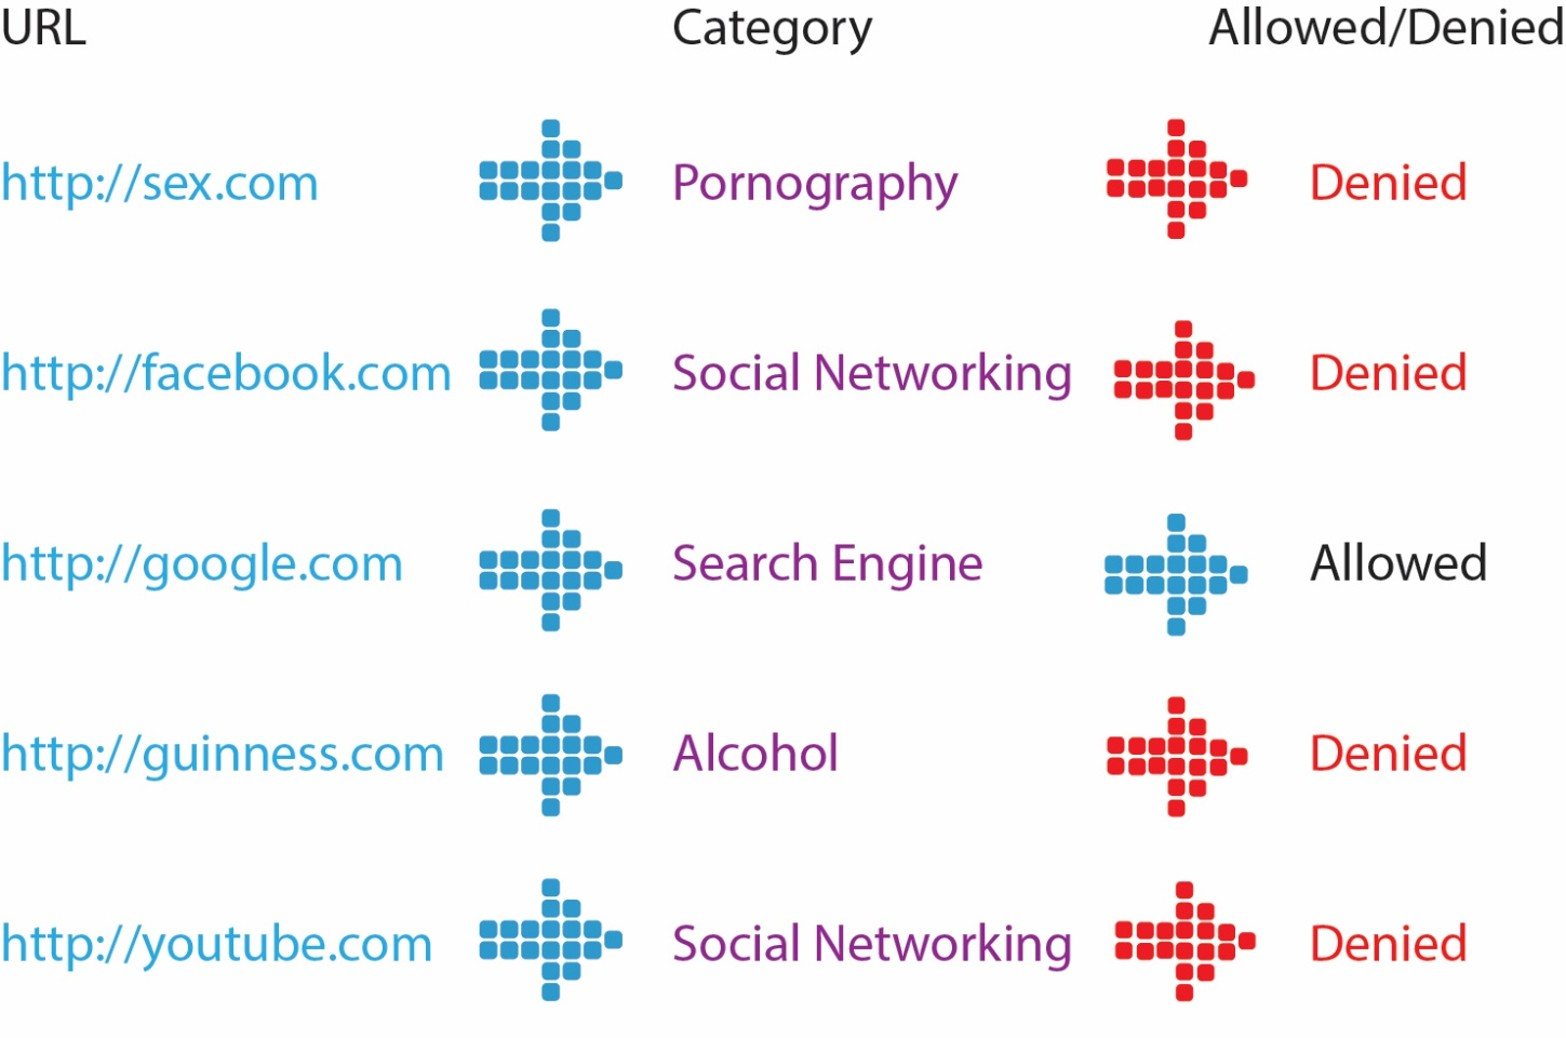
This example shows five URLs. Each URL has been categorized by the Netsweeper CNS. Based on these Categories, they can be allowed or denied. Remember in this example that it is the Category that is denied and not the URL.
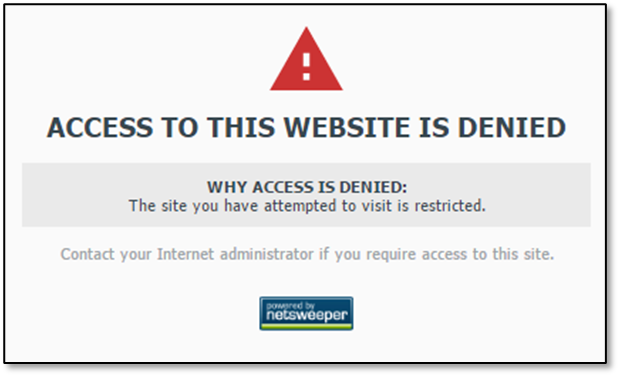
If a Category is denied, a Deny Page is served.
The Netsweeper Categorization Engines and Content Management Team
Netsweeper’s Categorization Engines use Artificial Intelligence to scan and sort the content of billions of websites and add this information to a database of categorized sites maintained on the Netsweeper Category Name Servers (CNS). Periodically, this information is downloaded to local Netsweeper Policy Servers. Netsweeper also has a human review team that trains and reviews the Categorization Engines’ AI (Artificial Intelligence) logic. If you detect a mistake in Netsweeper’s category assignment and report it to us as a URL Alert, our human review team will review the category assignment and exert their oversight on the AI logic. The human review team can also use this information to adjust the AI logic.
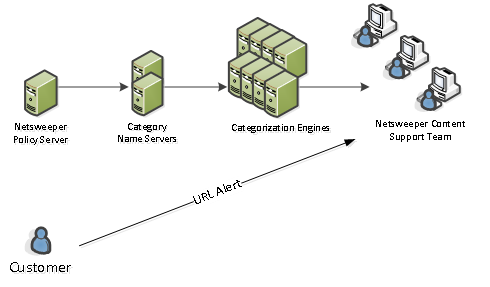
Customer Input is Equally Important and has Higher Priority
However, this is just one part of the Categorization process. You have an equally important role to play in the Categorization process and your role is ultimately given higher priority in determining the categories assigned to the URLs your own clients visit.
Creating Custom Category Assignments for URLs
As an Admin or SysOp working with a Netsweeper system, you can ultimately assign URLS to and Categories of your choice. These Categories can disagree with and override the Category assigned by the Netsweeper Categorization process.
The Category URL List you create is among the first sources of information Netsweeper checks when Clients attempt to visit a website. If the URL is listed on the Category URL list, Netsweeper issues an allow or deny ruling, based on the allow or deny status of that Category within the Client's Filtering Policy.
Creating Custom Categories and Groups
You can not only customize the Category assignments of URLs but also create your own custom Categories and custom Category Groups to serve your customers and Clients’ URL access requirements. For example, teachers or schools may want to add URLs they commonly used for instruction or guidance to a custom “allowed” Category called “Instructional Websites.” Or perhaps you want to consolidate all of the universally banned Categories in a custom group called ‘Banned Categories’. The Master Admin is able to add these Custom Categories using the ‘Category Manager’
URL Allow and Deny Lists Provide Exceptions to Category Filtering
The System, Local and Shared URL Lists provide exceptions to category filtering. For information about how to use the URL Lists to create exceptions to category filtering, see the Netsweeper document entitled “Using the WebAdmin URL Tools.”
Group Policies and The Policies Window
Group Filtering Policy
A Policy is a set of filtering rules that control a Group’s browsing access for a specified portion of a week (for more on the time aspect, please see the section on ‘Policy Events’.) Policies have these components:
- Default Status
- Categories and Category Templates
- Local and Shared URL/Keyword Lists
- Logging
- Language
- Policy Deny Page
If a Group has multiple Policies, each Policy covers different portions of the week, using a Group's ‘Policy Events’ which sets the time duration for when the Policy is active. Each new Group, by default, is created with a ‘default’ Policy. This default Policy is a copy of the default Policy created for the default Group.
The Policies Window
The 'Policies' window allows you to view, search, delete and modify existing Group Policies. If a Group has multiple Policies, each Policy covers different portions of the week. These are called Policy Events. Each Group is created with a default Policy which you can modify or delete. Filter the display by typing the letter of your search term. You can also view a Group's Policy by selecting a Group in the 'Groups' window.
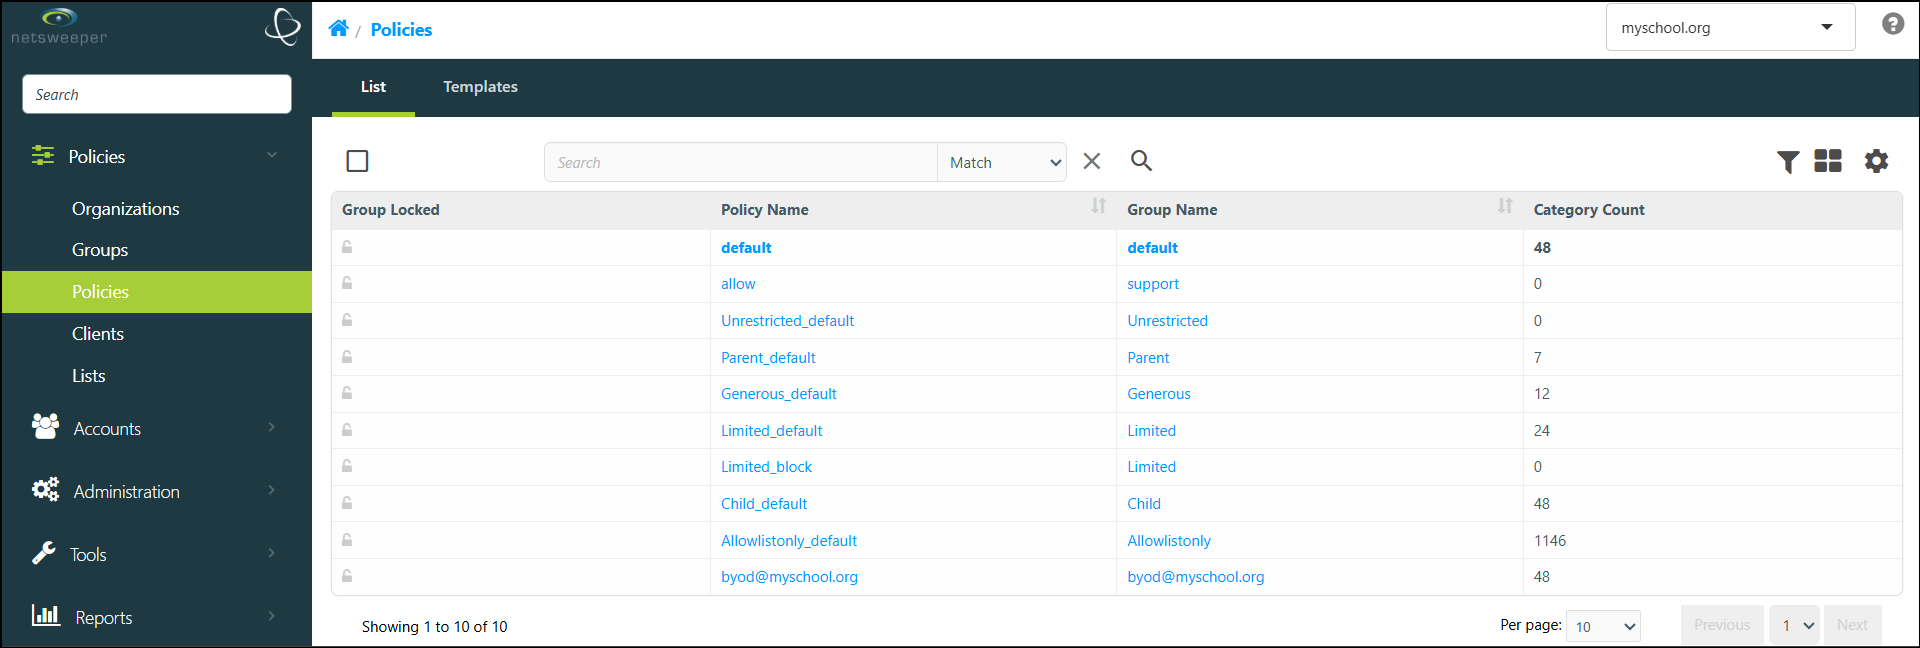
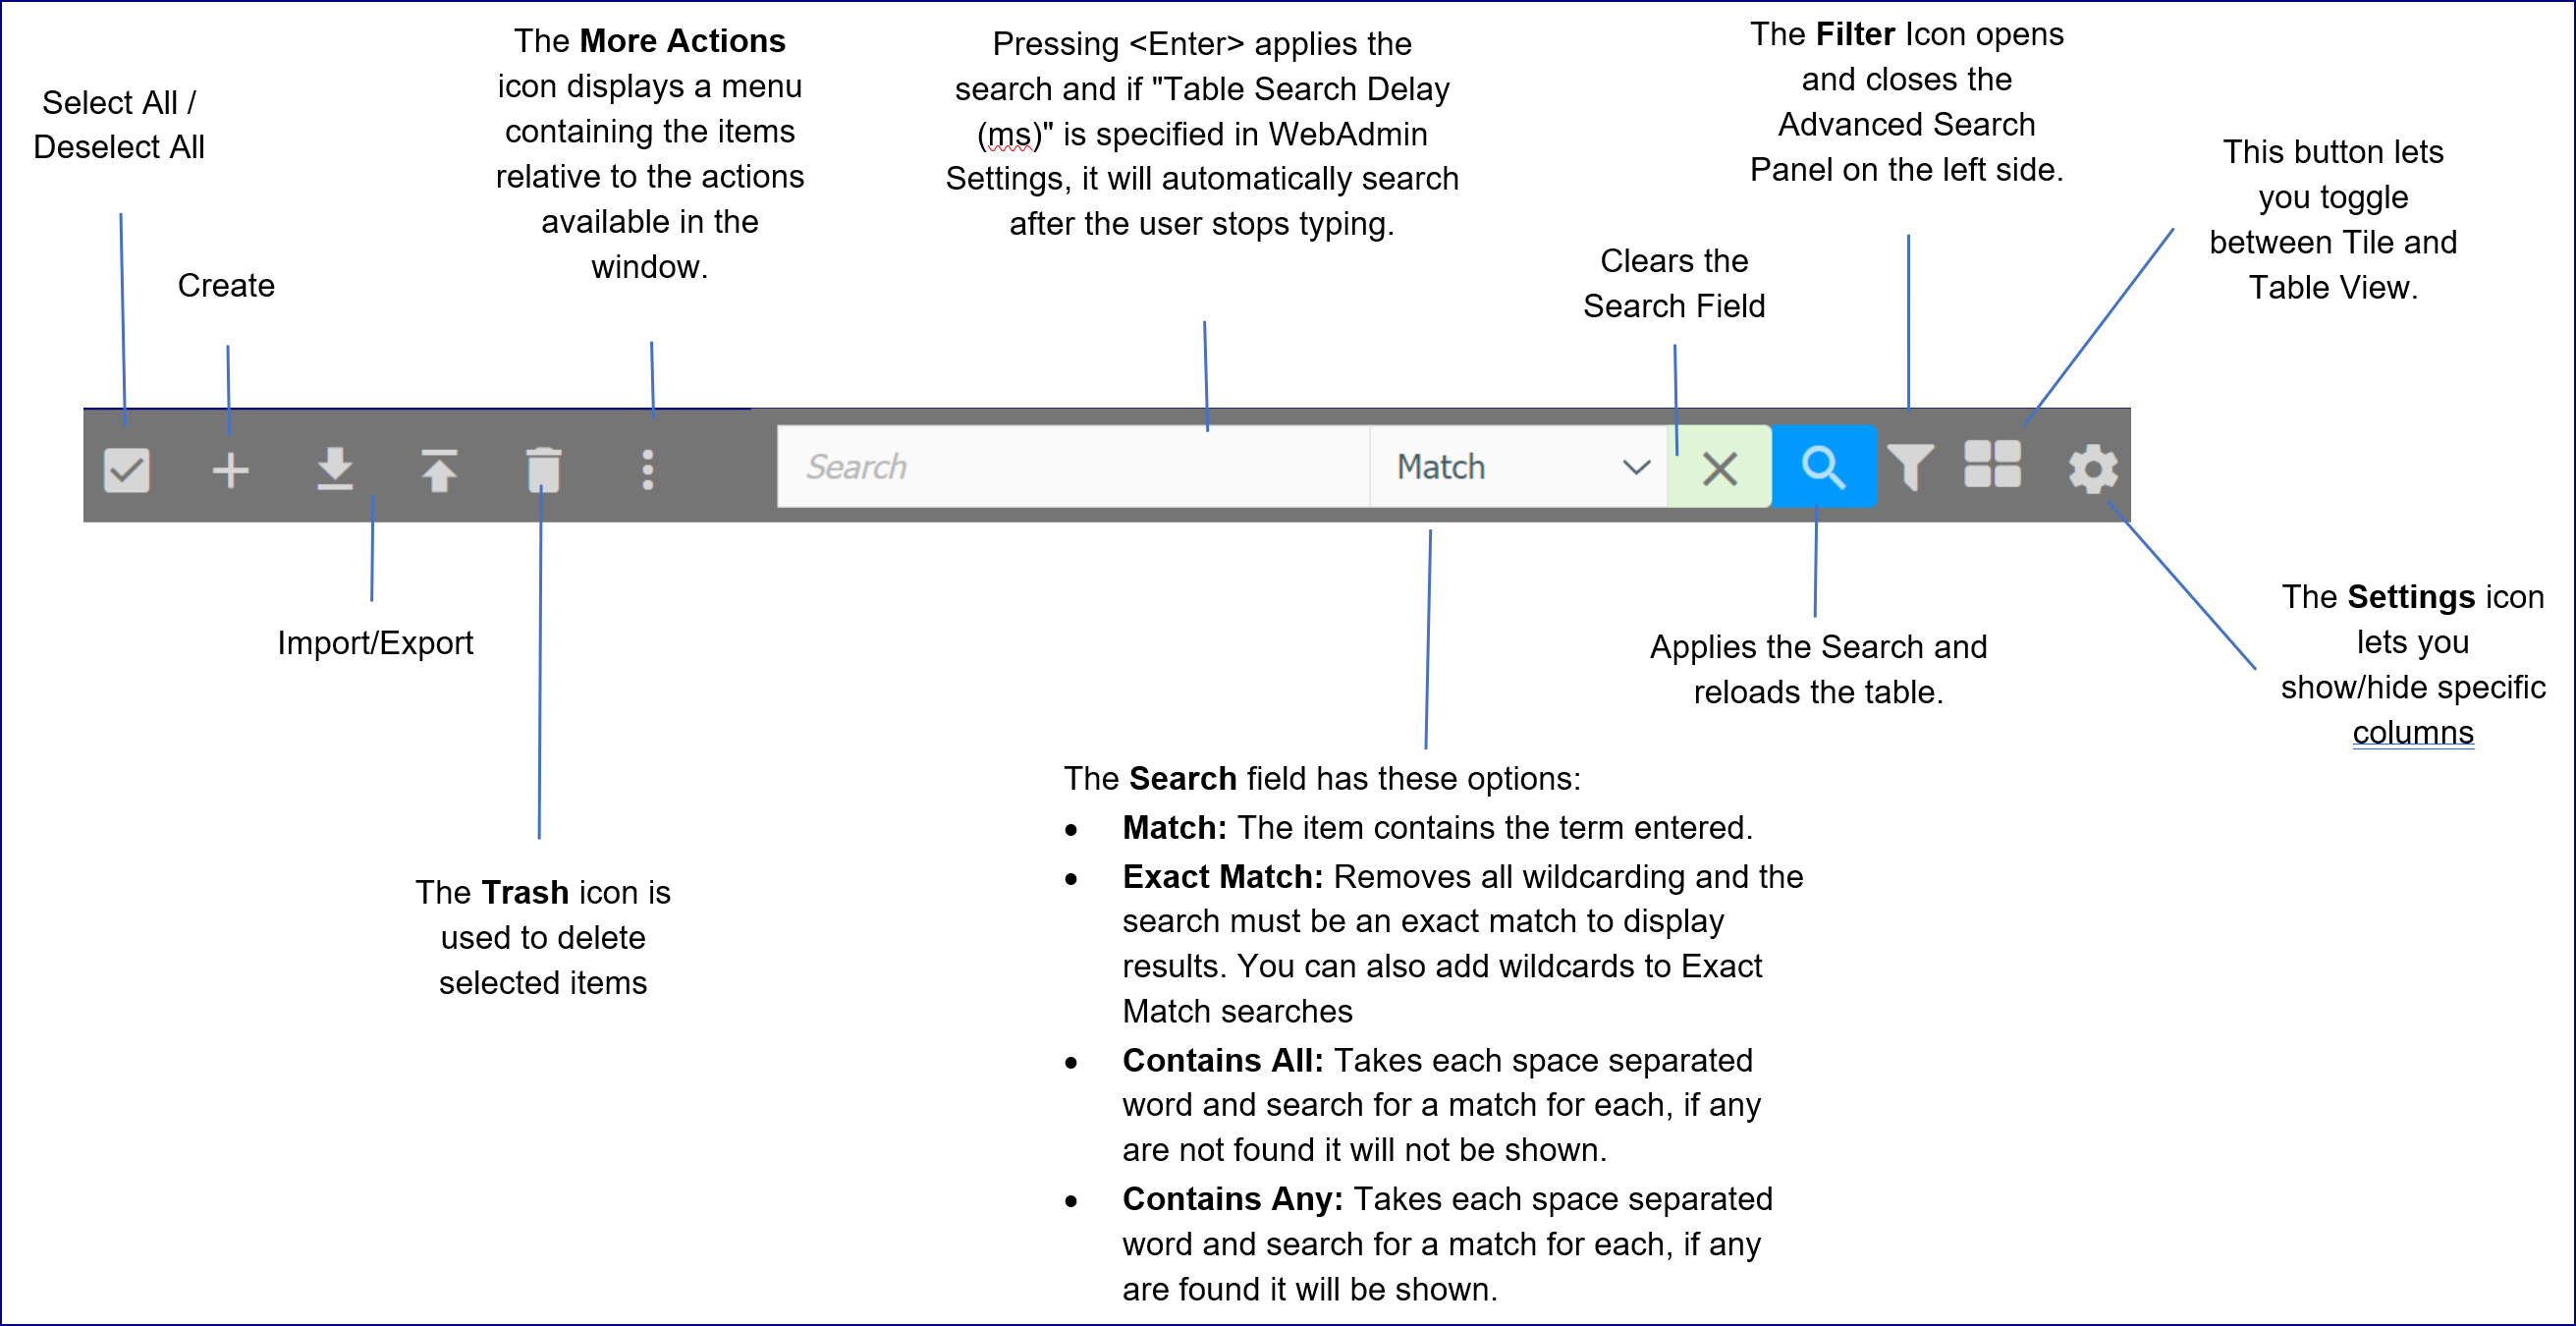
The Header bar displays these items.
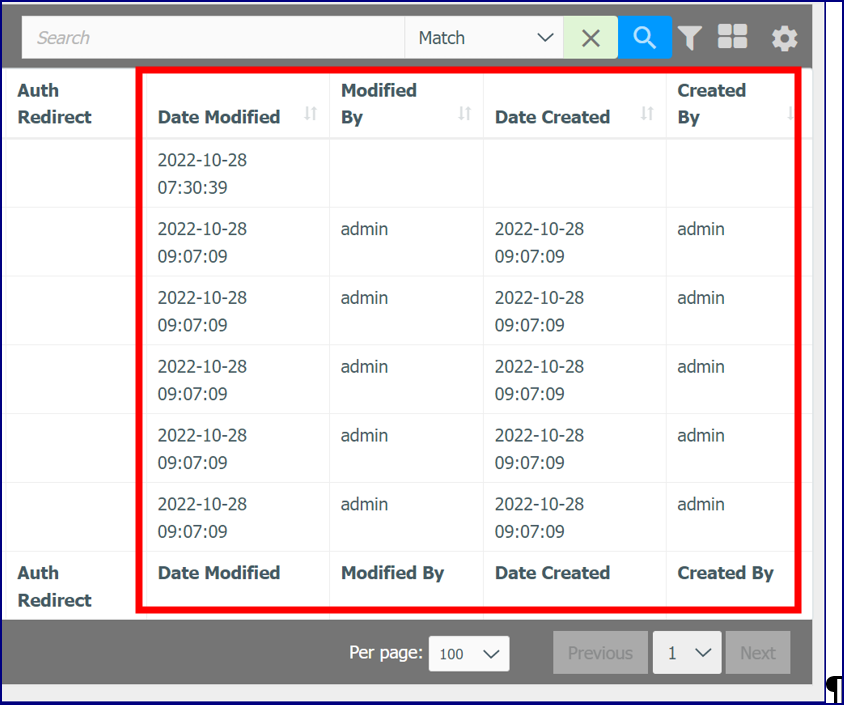
Audit Fields
Audit Fields display in some tables such as: Date Created, Date Modified, Created By, and Modified By.
Policies Window Tabs
Policy Window Tabs
Each Policy's window contains the following elements:
Use the Clone button to clone the selected Policy.
Use the Surf button to test the Policy settings for the selected Policy.
Policies General Tab
The General tab can be used to modify the Policy Name and description for the selected Policy. You can set the Policy as a Policy Template. You can also set the Category Action to Block or Allow Selected Categories. By default, all Categories are blocked as they are tied to the ‘Block’ option
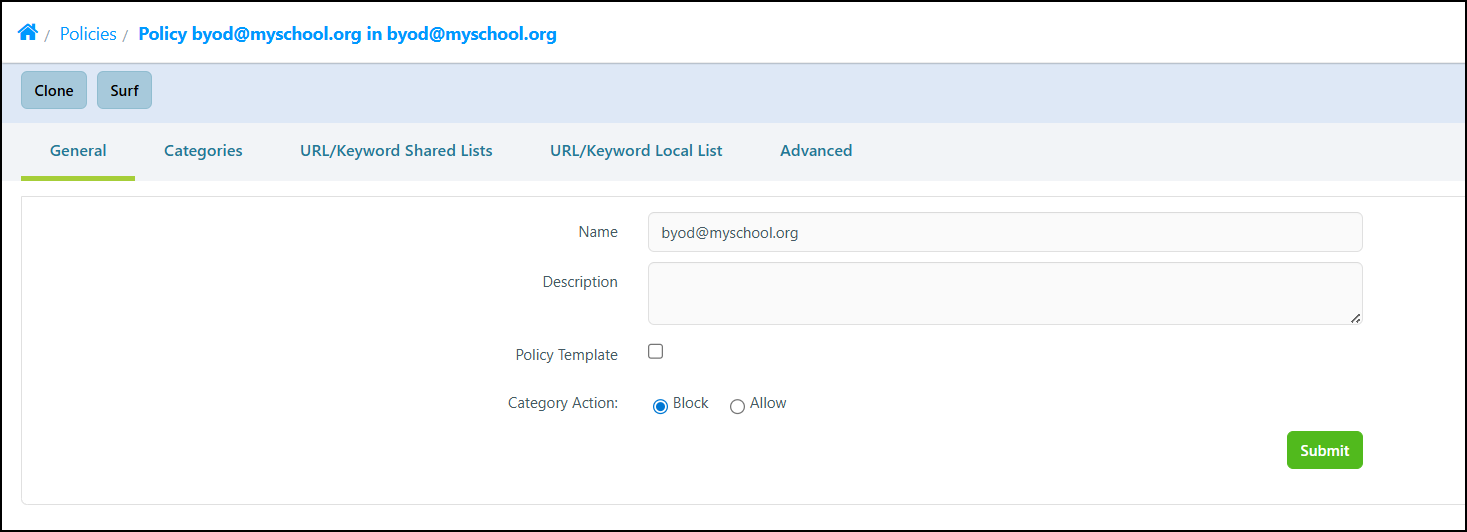
Please Note: The Category Action setting determines how the Policy Service will handle Categories assigned to the Policy. Be careful changing this setting as you may allow Categories that were previously denied.
Categories Tab
The Categories tab is used to add or modify Categories or Category Templates for the selected Policy. The default Categories that display for a new Policy are set in ‘WebAdmin Settings’ for all new Policies.
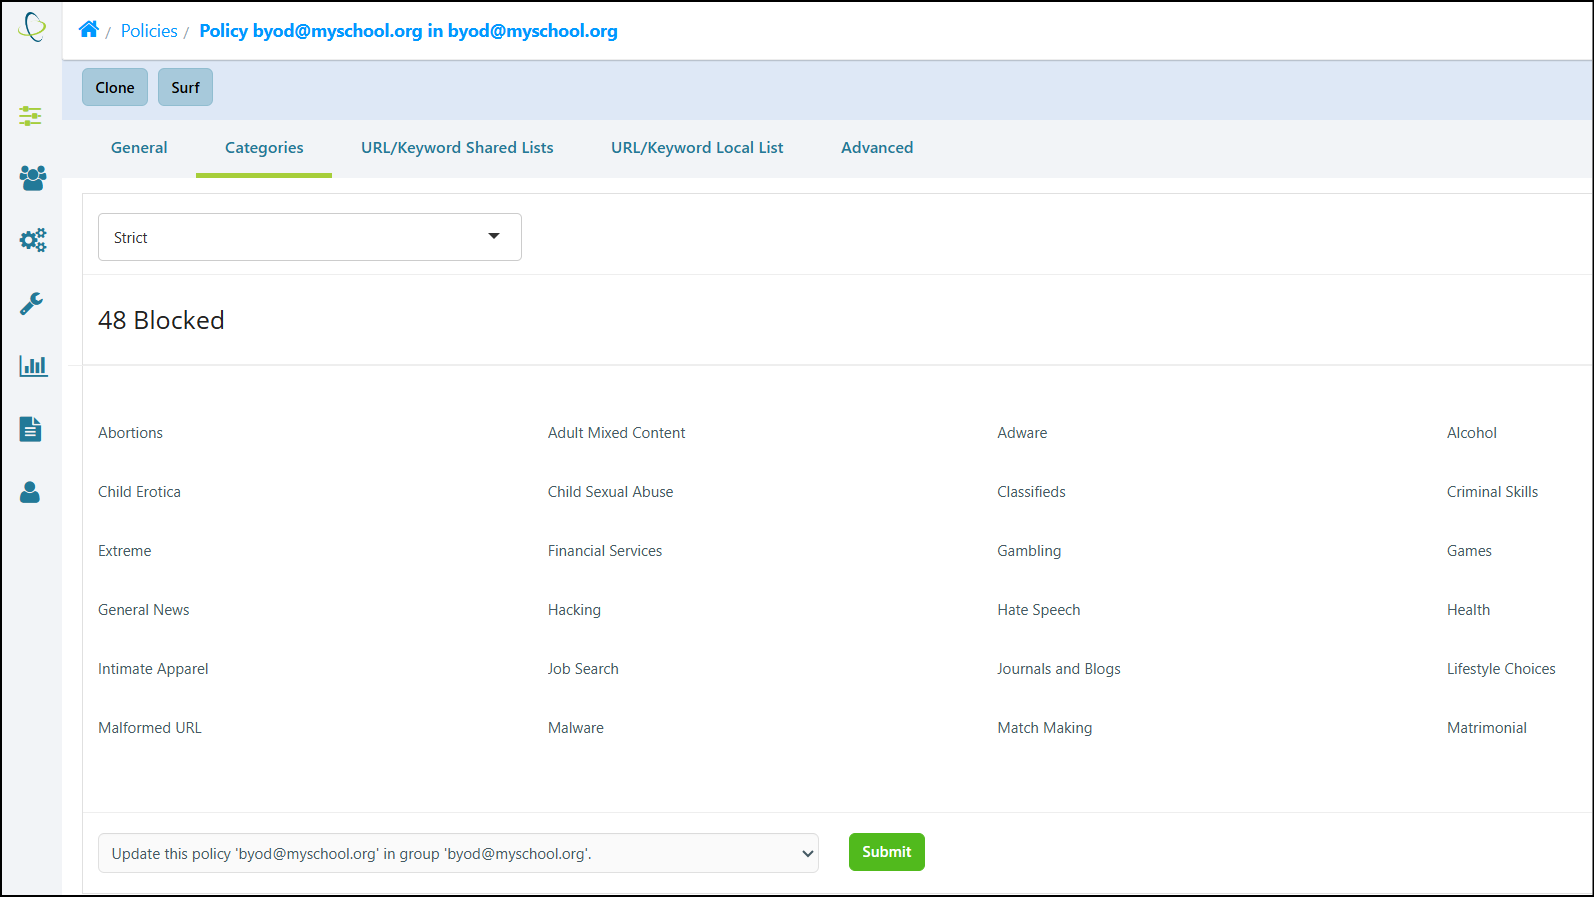
If the 'Custom' Template is chosen, a list of available Categories displays for inclusion in the Custom Template.
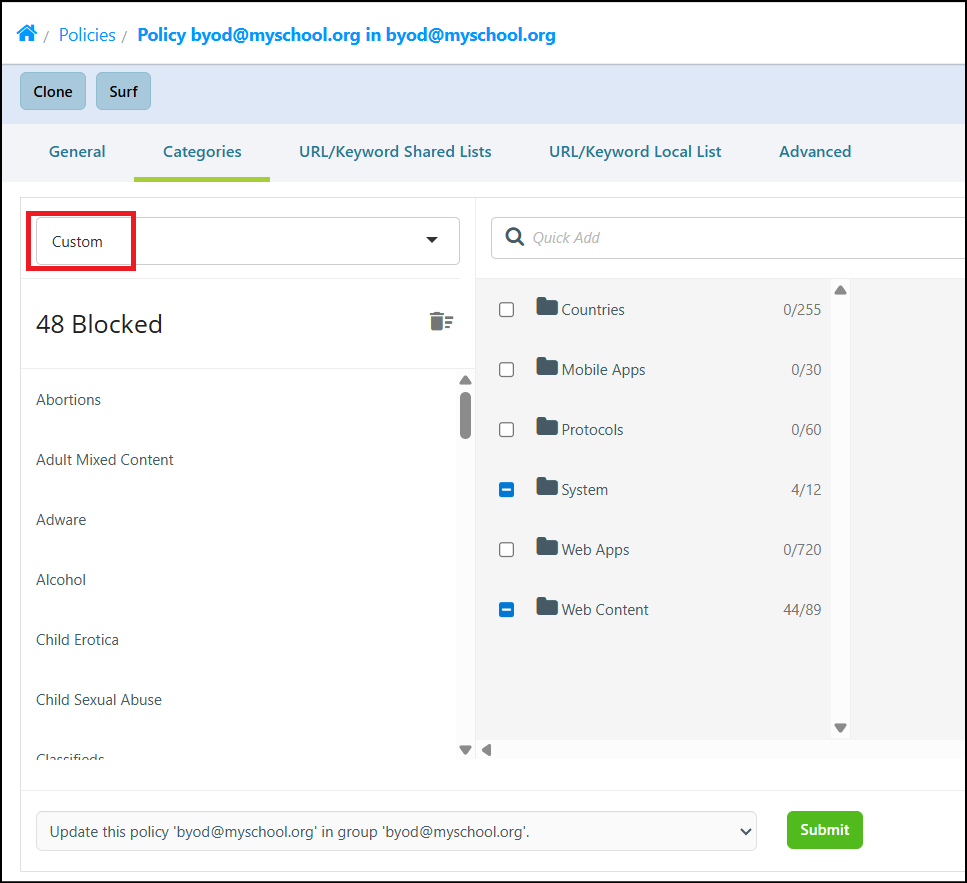
Enforced Categories for the Policy are set in WebAdmin Settings and cannot be modified. If you are unable to edit a Category setting, it is an ‘Enforced Category’. Please see 'WebAdmin Settings' for more information.
Updating Web Filtering Categories in Policies
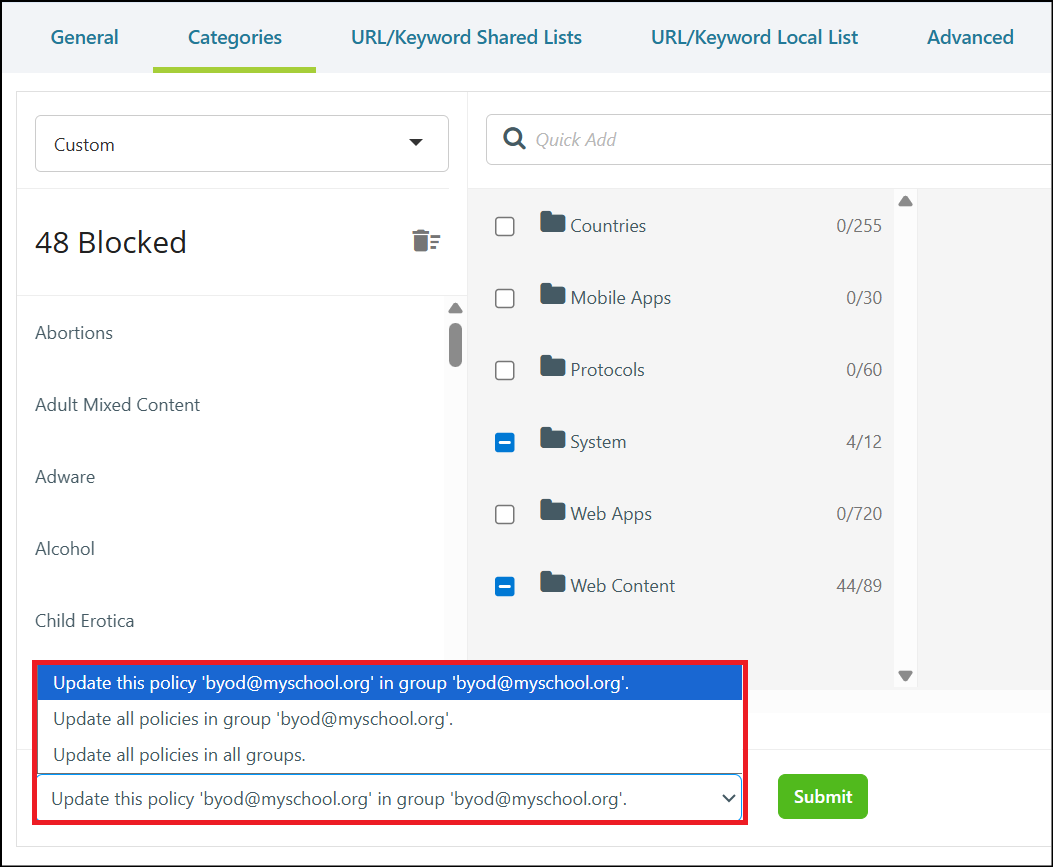
Before selecting the Submit button when modifying a Policy's Category Template, you can choose to update the Policies for one, some, or all Groups.
|
Option |
Definition |
|---|---|
|
Update this policy, ‘default’ in group ‘groupname’ |
This will apply the updates to just the selected Policy. |
|
Update all policies in group ‘groupname’ |
This will apply the update to all policies for the selected Group. |
|
Update all policies in all groups
|
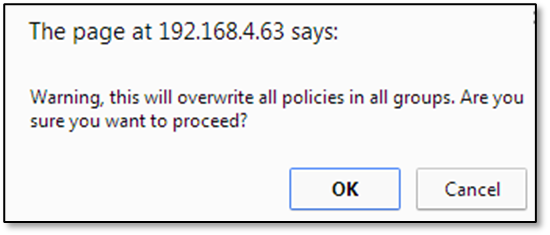
Use this option to update all Policies in all Groups. A warning message will display. See the note below. With a SysOp account, this option would only apply to the SysOp’s Managed Groups. It does not matter that SysOp has all the permissions enabled. |
WebAdmin Settings for Updating Web Filtering Categories
Depending on setting and limits reached, the 'Web Filtering Categories' options may be hidden or disabled. Please see information on 'Category Group Definitions Limit', 'Category Update for Multiple Policies' and 'Category Update for Multiple Policies Limit' in the ' Ops and Admin - 02.2 WebAdmin Settings Reference' document.
Warning about Updating Web Filtering Policies
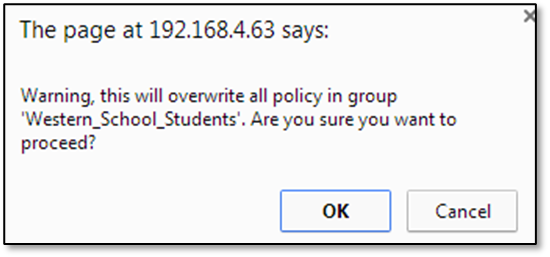
It is very important to understand the impact of using the ‘Update all policies in group’ and the ‘Update all policies in all groups’ options. Using these options will either overwrite all policies in all groups or overwrite all Policies for the selected Group. A warning message displays for these two options.
Deleted Category Templates
When a Category Template is deleted for a Policy, upon going to a Category selection page for that Policy, the Custom selection will automatically display, if a Customization Template exists. However, when the Customization Template does not exist, and other templates still exist, this warning message displays:
This policy's category template no longer exists, please select a new template.
URL/Keyword Shared Lists Tab
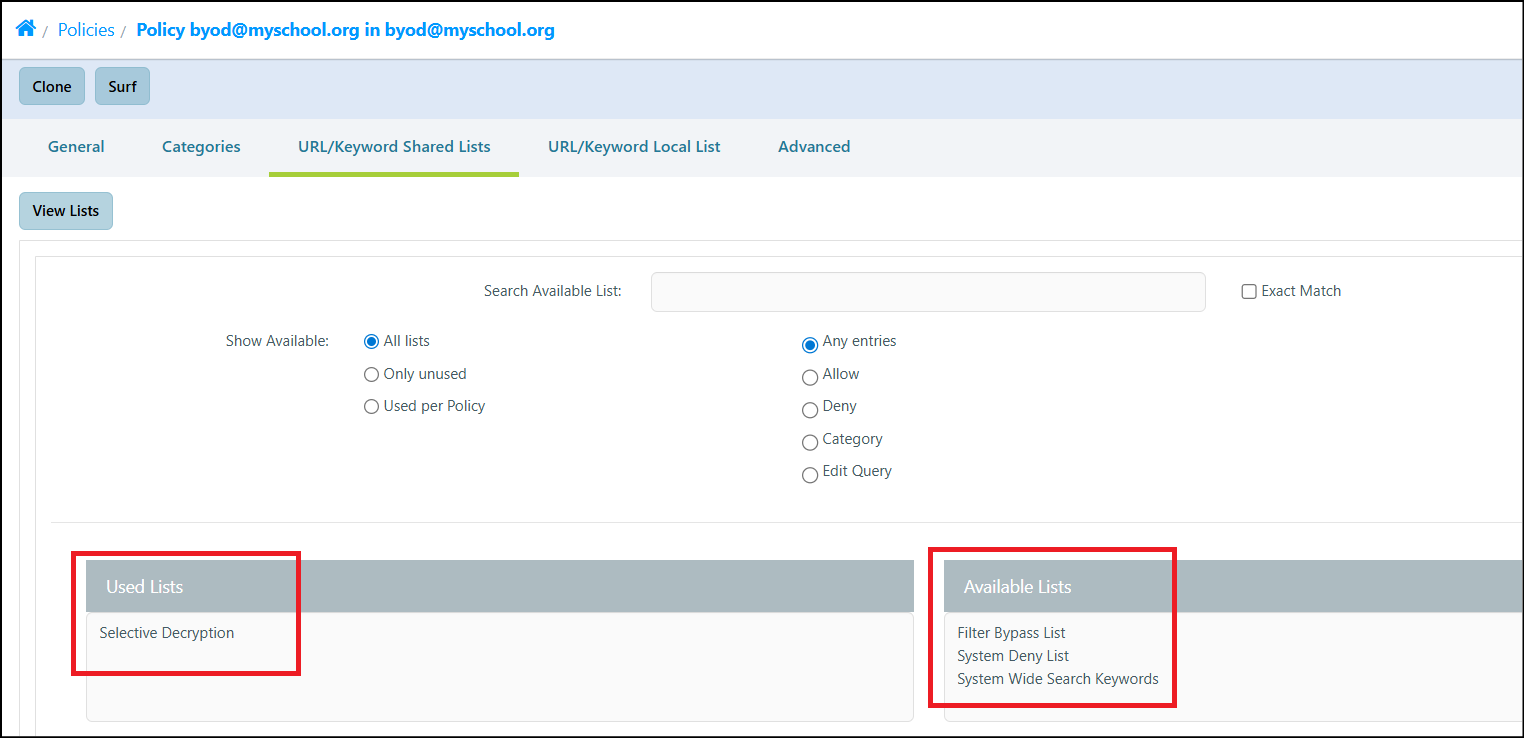
The URL/ Keyword Shared Lists tab lets you Add or Remove Shared Lists. If no Lists are in the ‘Used Lists’ column, this page displays. Click the Manage Shared Lists button.
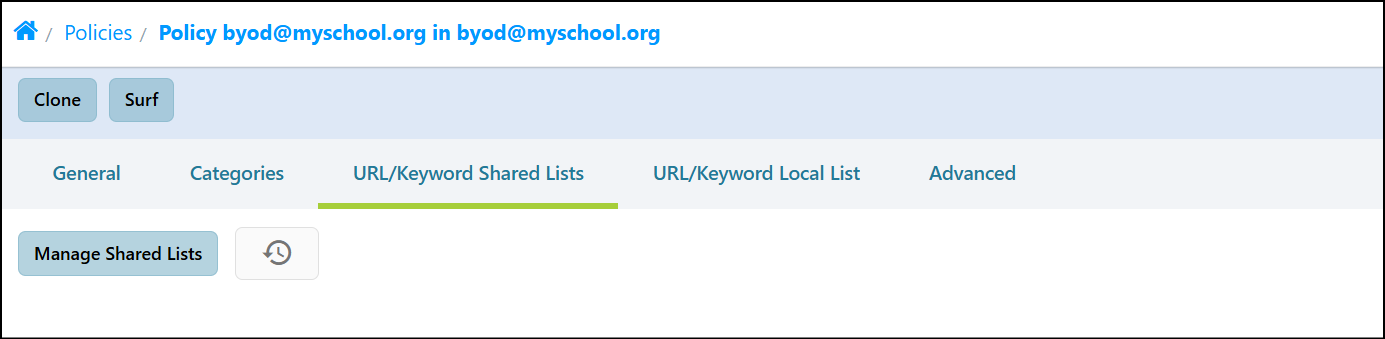
You can search for or filter available Lists. Choose any Shared Lists you wish to add to the ‘Used Lists’ column.
URL/Keyword Local Lists Tab
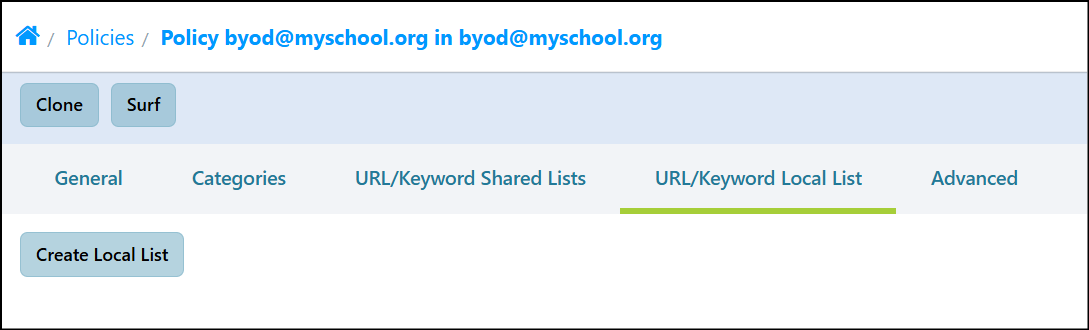
The URL/ Keyword Local List tab lets you add or remove items in the selected Group’s Local List.
Choose the Create Local List button.
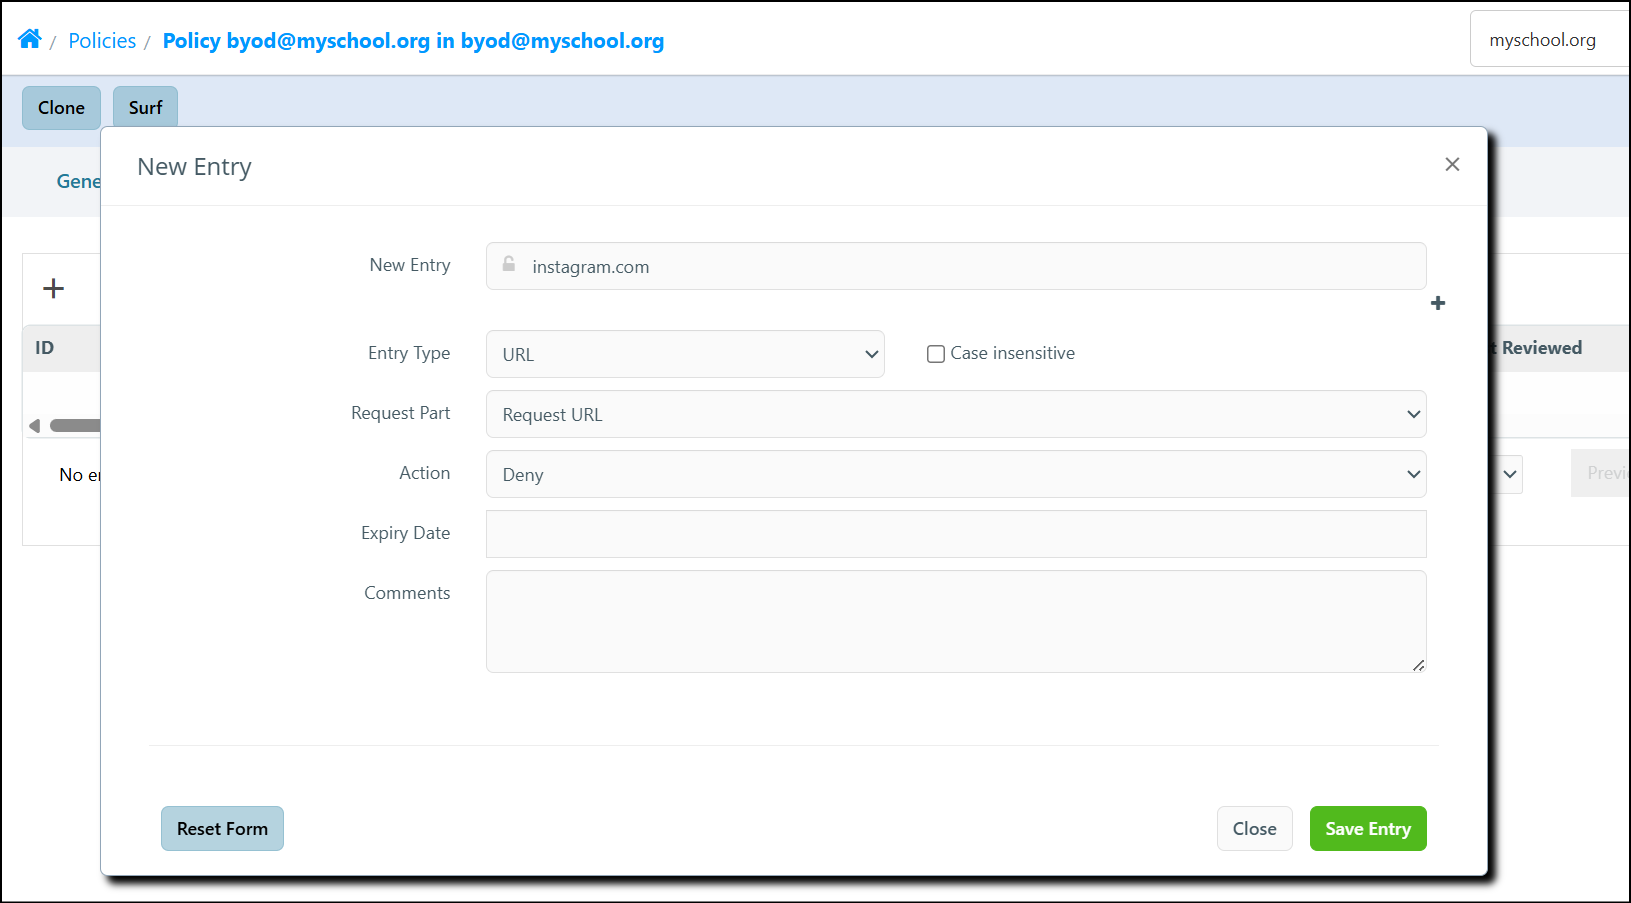
Select the New Entry button, add the entry as desired and select Save Entry to apply your new List rule.
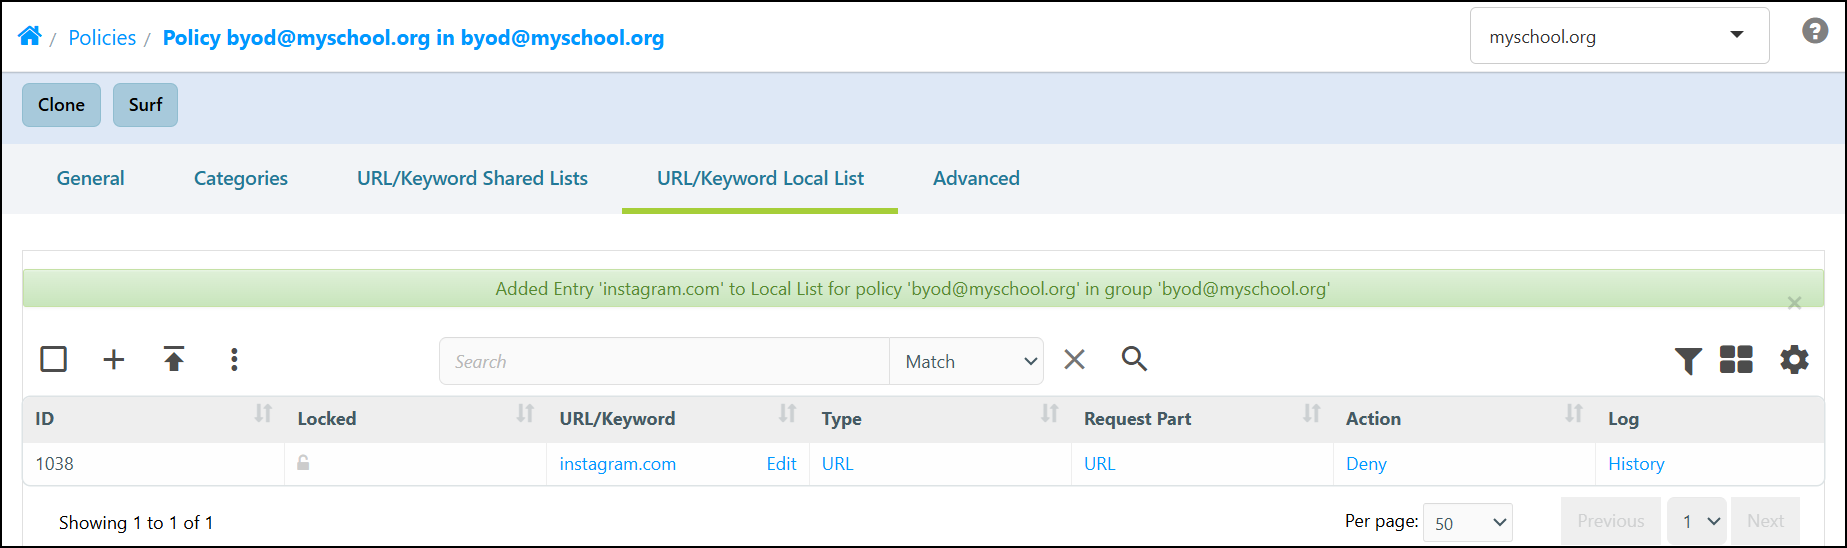
The new entry displays in the List.
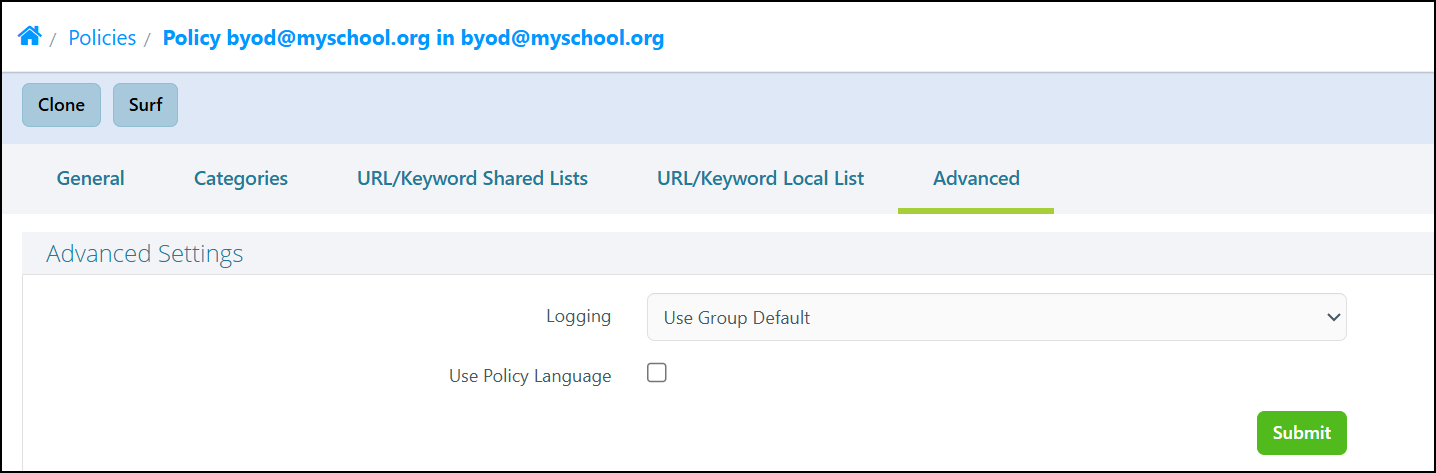
Advanced Tab
The Advanced Tab lets you set the Logging level for the selected Group. Choices are: Log Everything (default), No Logging, Log Allowed Requests Only, and Log Denied Requests Only.
Use Policy Language: Use this option to select the language. By default, English and French are displayed as choices once ‘Use Group Languages’ is checked. To make other languages display, go to Administration > WebAdmin Settings and scroll to ‘General Settings’. You can select more languages in the ‘Enables Languages’ field.