Creating a Custom Deny Page
You must create a new custom Deny Page before you can create a Deny Page Rule for it or assign it a priority. The priority of the Rule is important in cases where Netsweeper assigns a website to multiple Categories. The priority list of Rules determines which Deny Page is served to the user requesting the content: Netsweeper serves the Deny page representing the highest-priority rule.
- Navigate to Tools > Deny Pages > Content and select the 'Create Deny Page' (+) icon.

- Give the Deny Page a custom name
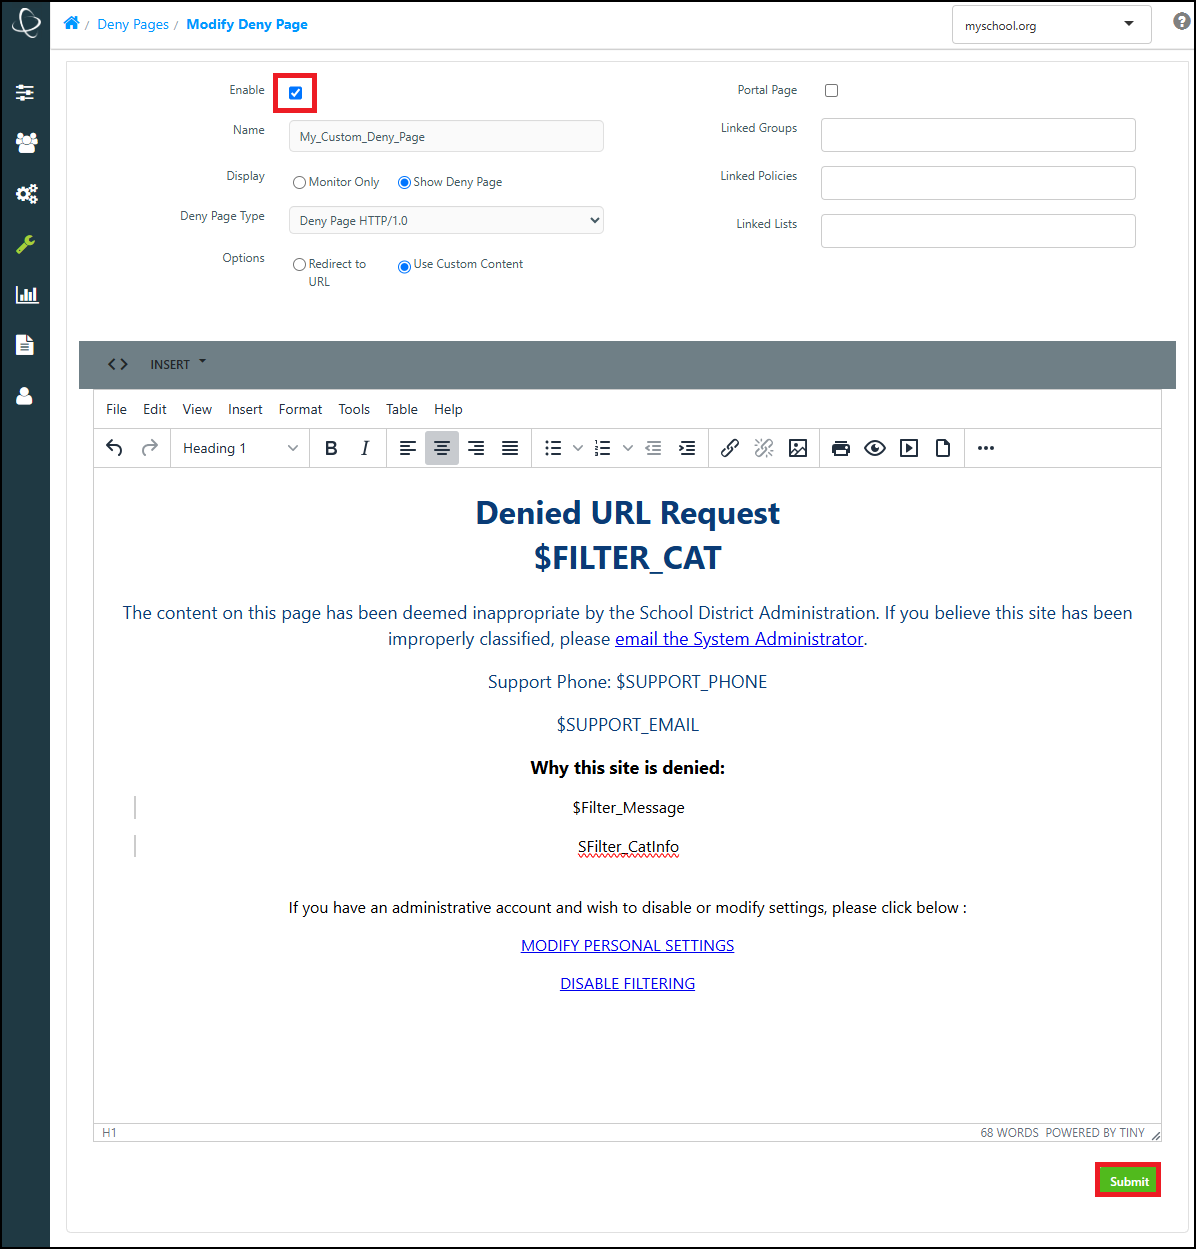
- You can choose to edit the HTML code manually, or paste code from another source.
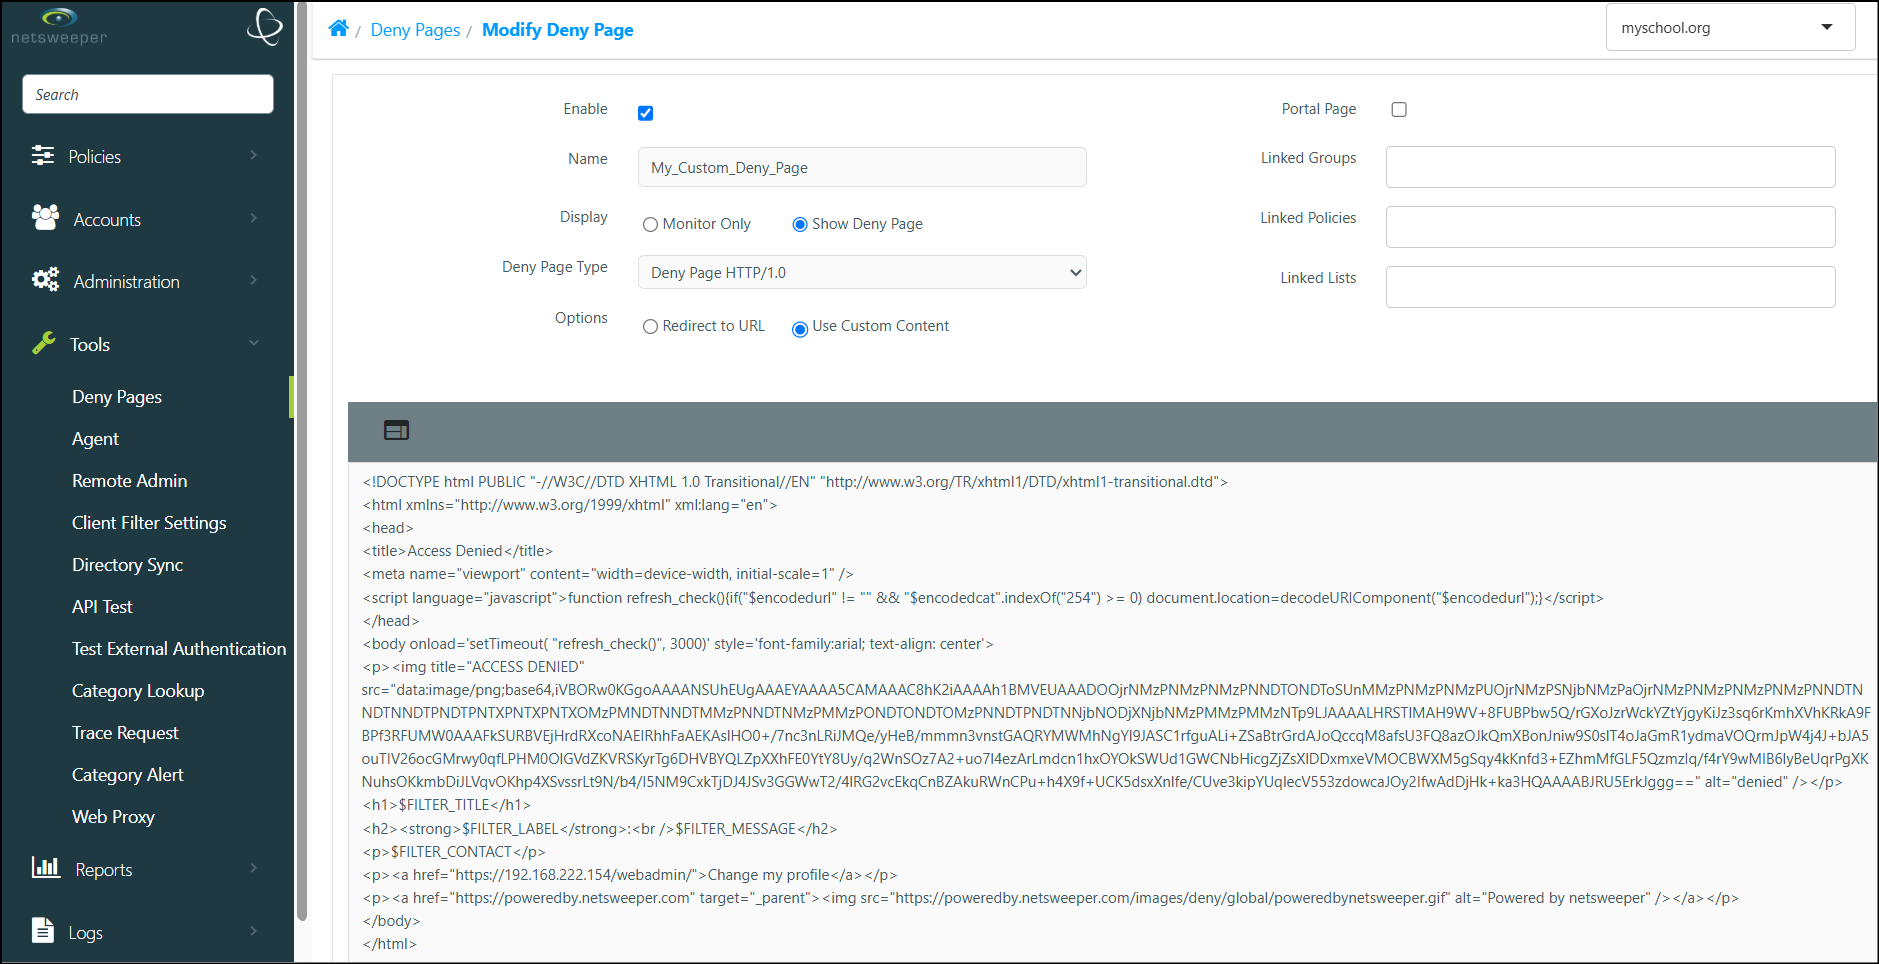
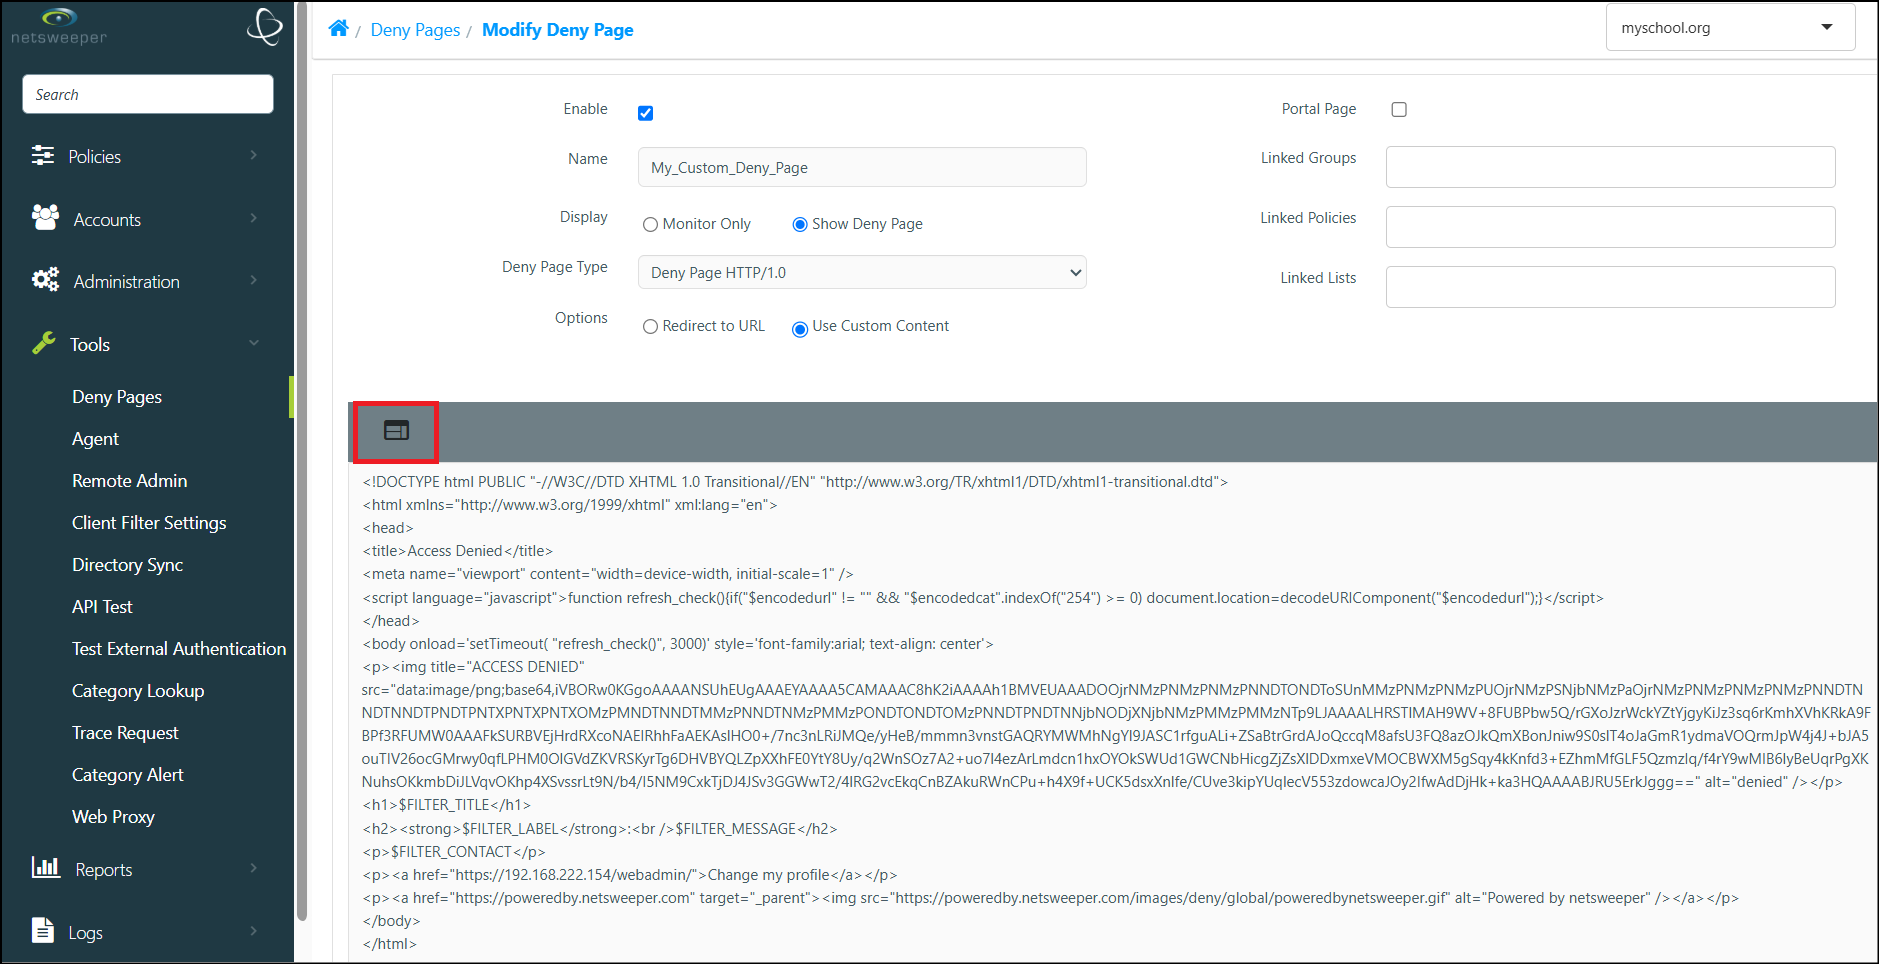
- You can also select the Rich Text toggle button in the Table Header. This will display the Rich Text Editor mode.
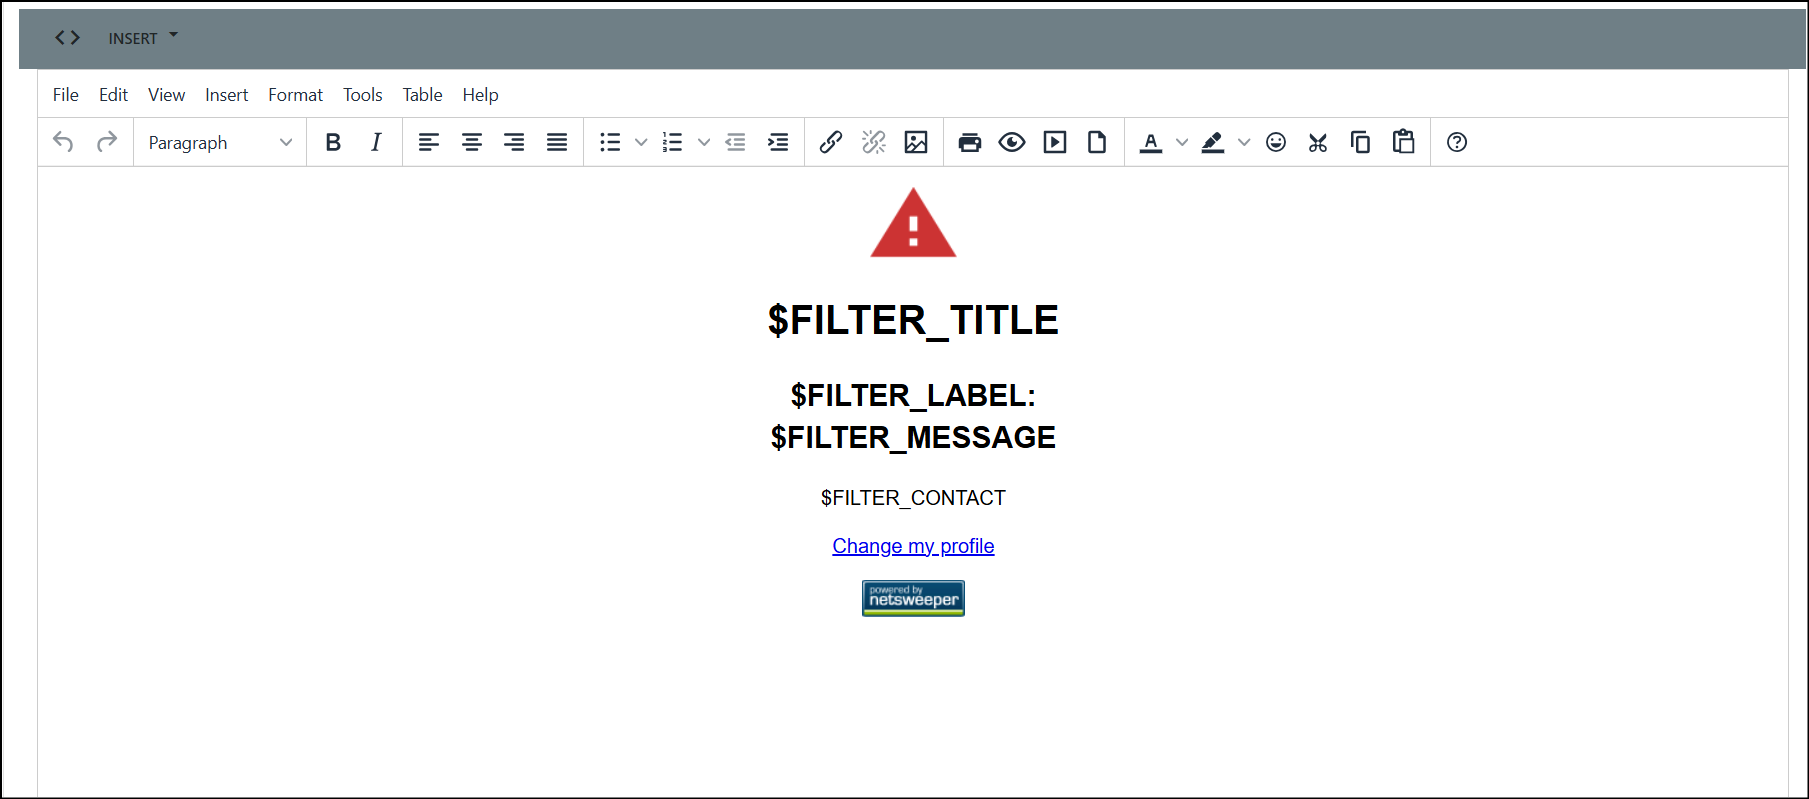
- The 'Rich Text Editor' includes different buttons and formatting tools, as well menu options for Rich Text editing.
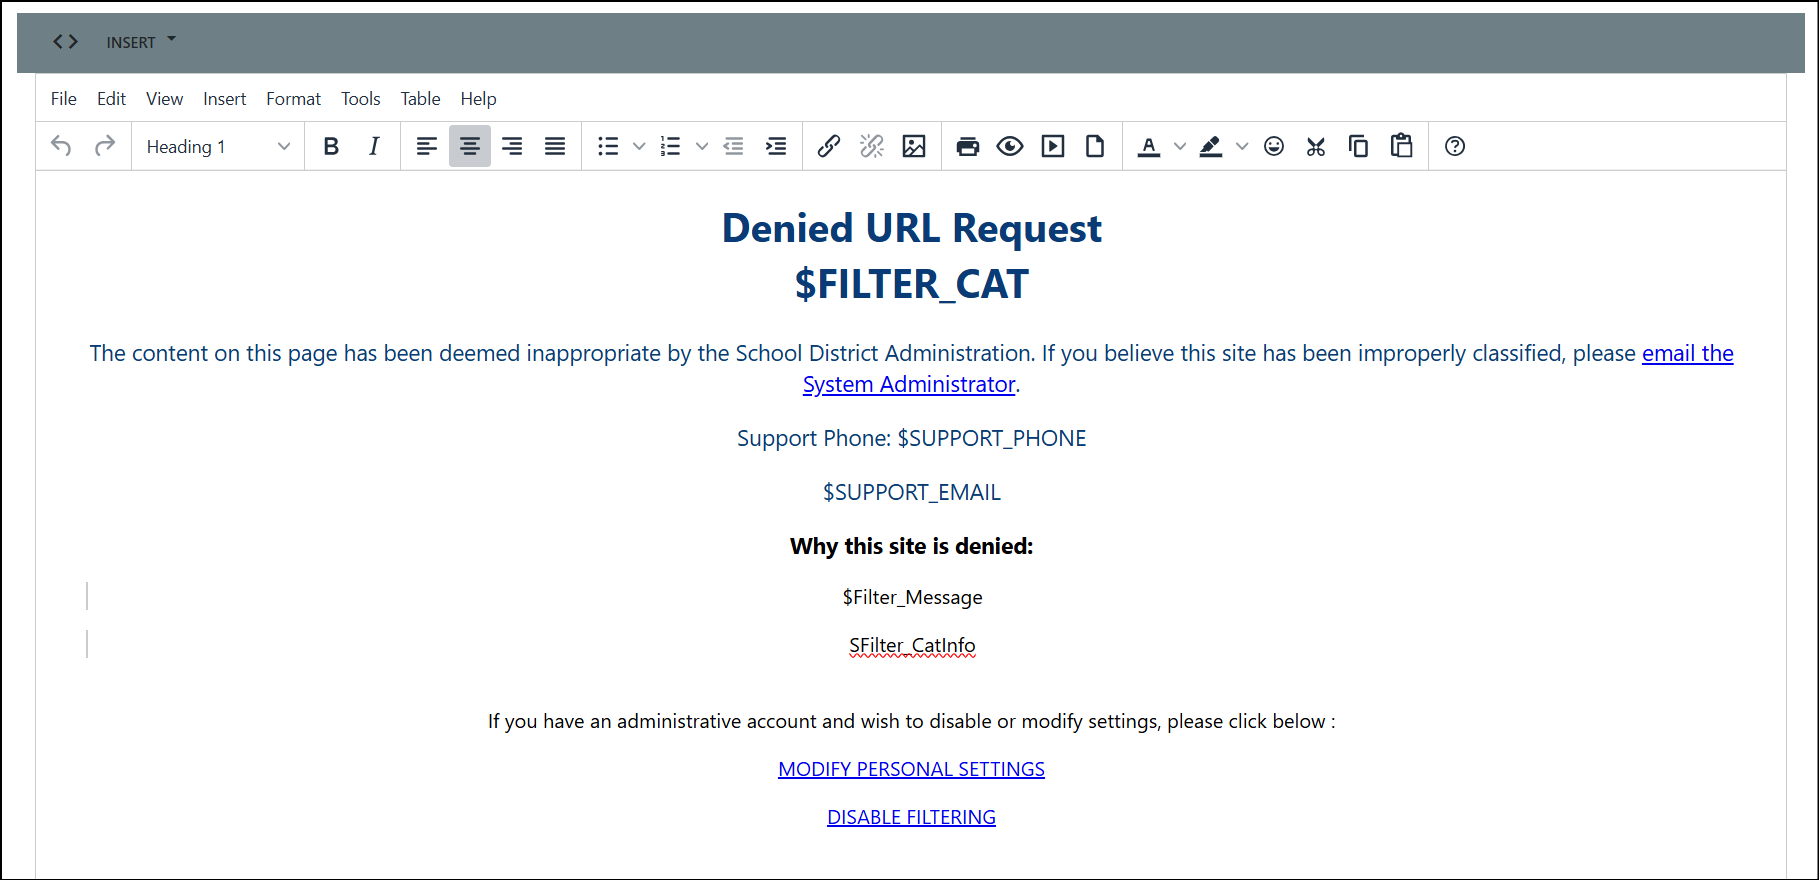
- Customize your Deny Page as desired.
- When you are finished, ensure the Enable checbox is selected and click the Submit button to create your custom Deny Page.
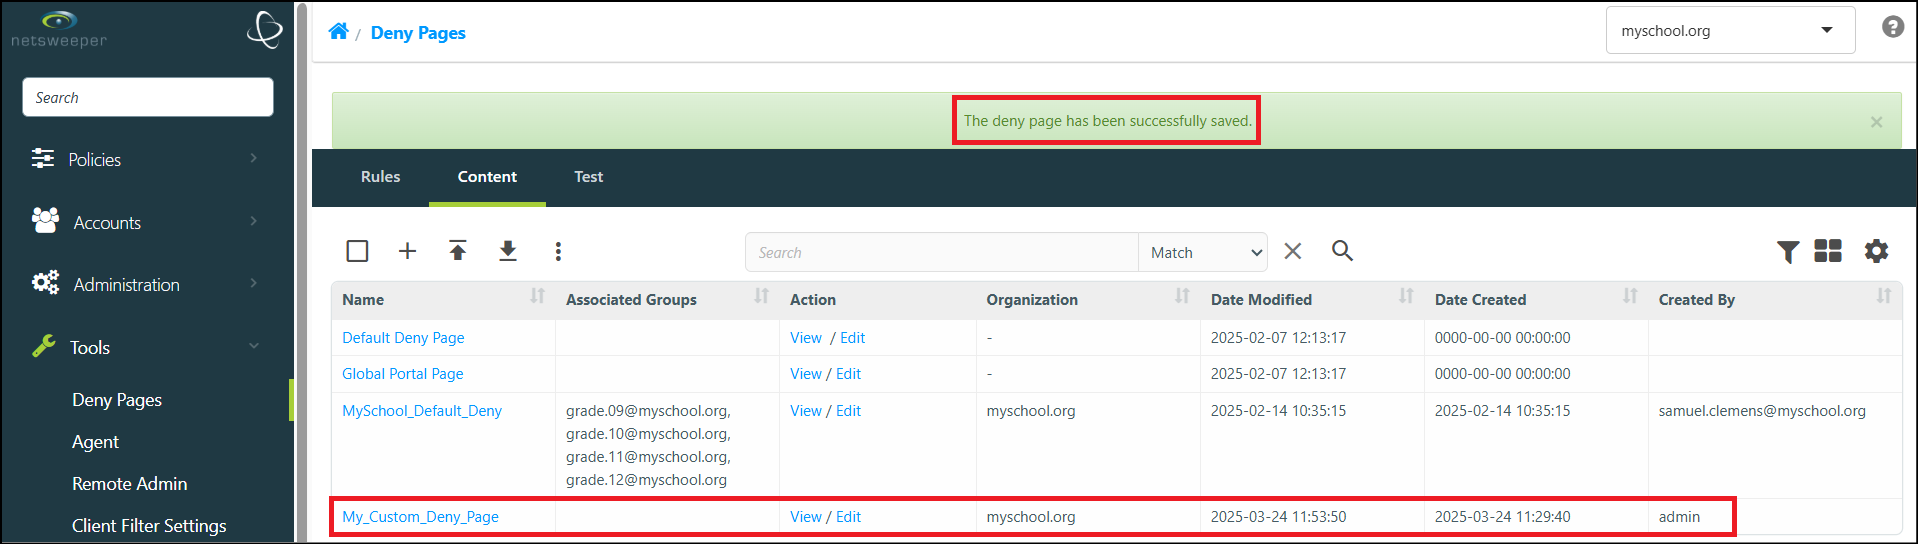
- Your Custom Deny Page now appears in the Deny Page Content list.
Additional Information
Deny Page Use Cases
Please refer to our Deny Page Use Cases documentation for step-by-step guides on creating Deny Pages for various scenarios.
Managing Deny Pages
For information regarding managing Deny Pages and the available options, please refer to our Managing Deny Pages documentation.
Deny Page Variables
For information on Deny Page Variables, please refer to our Deny Page Variables documentation.