 See Also
The WebAdmin supports the creation of custom Deny Pages that Netsweeper will serve when a requested website falls into a specific filtering Category. You can include text and images specific to that filtering Category and even redirect recipients to another URL for reference – such as a page containing the organization’s Internet Use Policy. Or, for example, a Deny page for a gambling site might redirect the user to a website for dealing with gambling addictions.
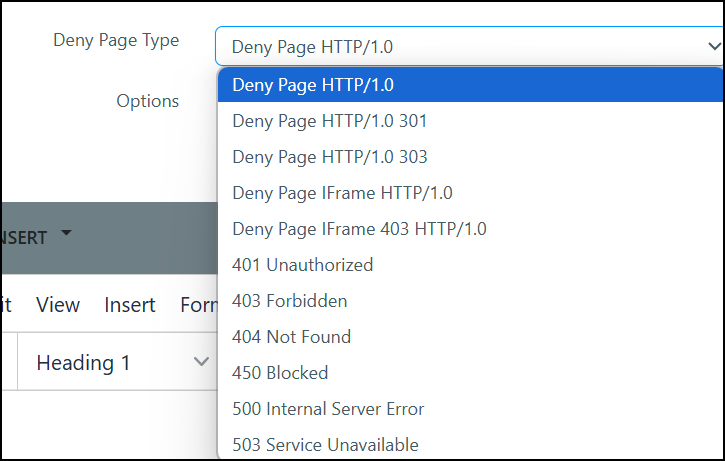
Netsweeper can display a custom Deny Page which is edited in the WebAdmin Interface using a Rich Text Editor. Deny Pages can also be configured to return 301, 303, 401, 403, 404. 450, 500 and 503 HTTP Response codes to the web browser, and they also support iFrame responses.
Deny Pages can be global across a deployment, or they can be applied to specific Groups, Policies and Lists.
The Deny Page Window
You can manage Deny Pages by navigating to Tools > Deny Pages. The Deny Page window consists of three tabs: Rules, Content, and Test.
The Deny Page 'Rules' Tab
The Deny Page Rules tab displays a list of Deny Page Rules, ordered by priority. In this section, you can create rules governing how the Deny Pages are served, assign priorities to your rules, and edit or delete the existing rules. (Rule priorities come into play if a requested page falls into multiple filtering categories, or if a Group and Policy Deny Page are both applicable to a Client's request). The highest priority rule determines which Deny Page the requester will see.
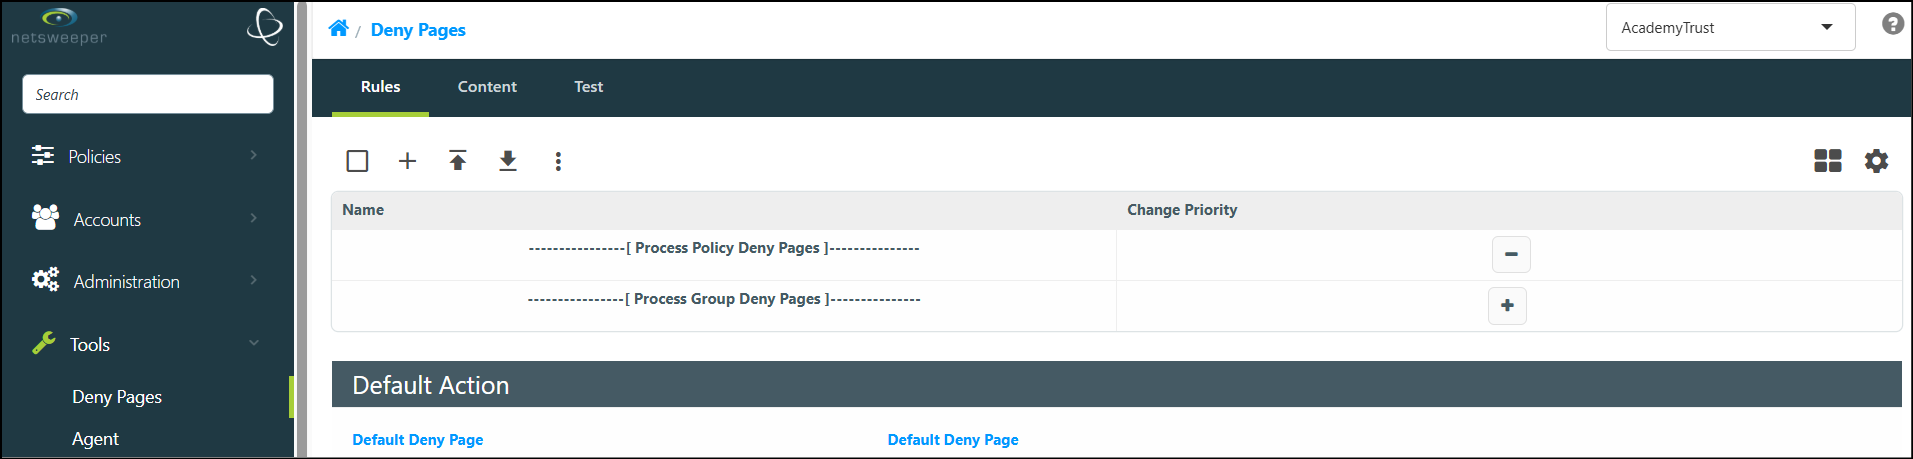
You can use the Deny Page Rules tab to add Global Rules, import Rules, export your list of Rules, or add List-based Deny Page Rules to the processing order.
Prioritizing Deny Page Rules
Netsweeper processes the Rules in the ‘Deny Page Rules’ list in a top-down, sequential order.
-
Select the 'Increase' (+) icon in a Rule’s ‘Change Priority’ column to move the rule up in the priority list, promoting it to a higher relative priority.
-
Select the 'Decrease' (-) icon in the rule’s ‘Change Priority’ column to move the rule down in the priority list, demoting it to a lower relative priority.
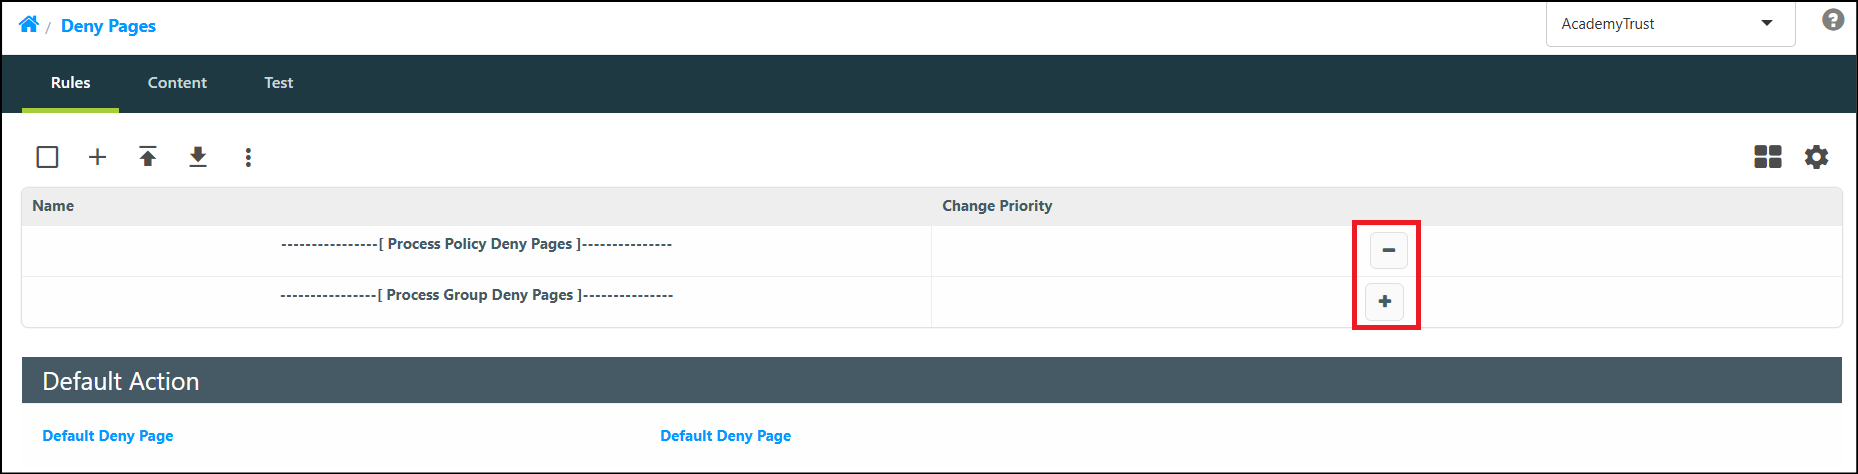
Understanding the prioritization of Global Deny Pages becomes more important when creating or troubleshooting Policy or Group Deny Pages.
The Deny Page 'Content' Tab
The Deny Page Content tab allows you to view, edit, enable, or disable the listed Deny Pages, or create new custom Deny Page content. You can add a new Deny Page, import and export your list of Deny Pages, or edit existing Deny Pages.
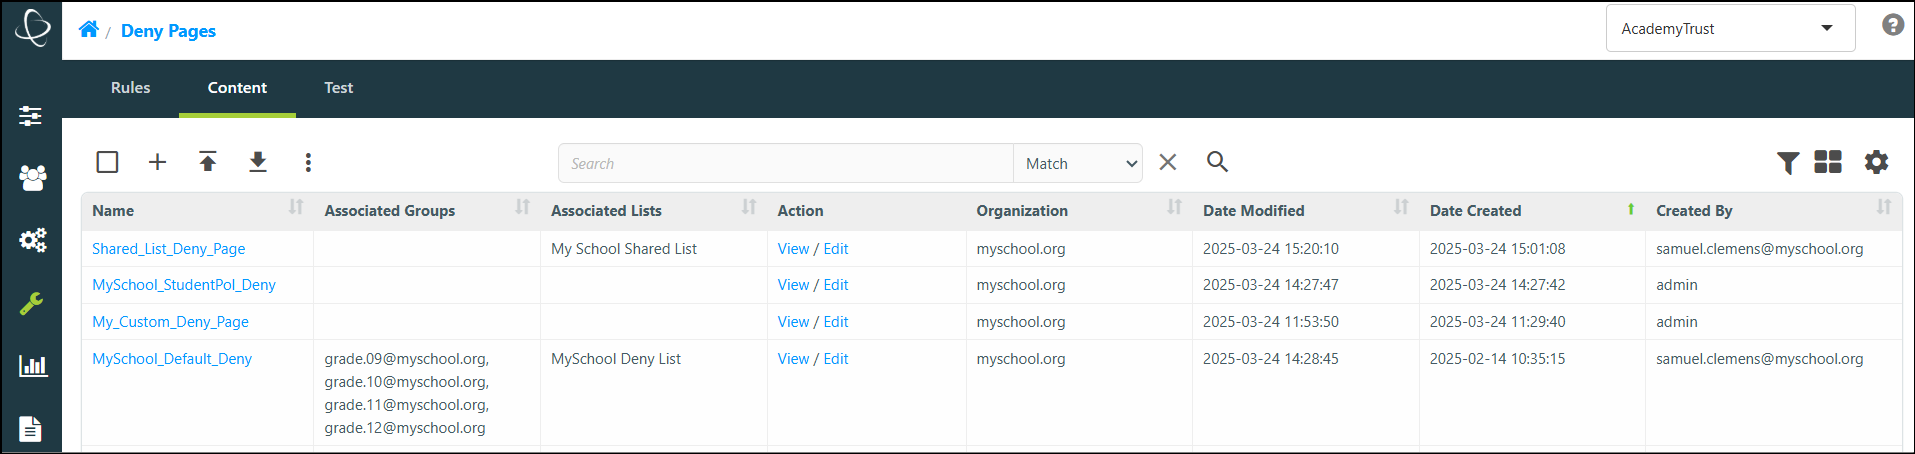
Select the 'Create Deny Page' (+) button to open the Deny Page Editor and create new Deny Page content. When you have finished creating your new Deny Page, navigate back to the 'Rules' tab to create your Deny Page rule.
To edit an existing Deny Page, select its Name from the list, or use the respective Edit button. The View button allows you to view a Deny Page's output.
The Deny Page 'Test' Tab
The Deny Page Test tool can be accessed by navigating to Tools > Deny Pages > Test. It is used to test and ensure all Policy Servers are properly configured to allow Deny Pages. For multi-server deployments, best practice is to ensure all Policy Servers properly allow all Deny Page Servers.
For administrators, It is recommended that you manually add each Deny Page Server to the Filter Bypass List. This will ensure that all Deny Pages can be loaded and the Policy Servers will always allow deny page requests.
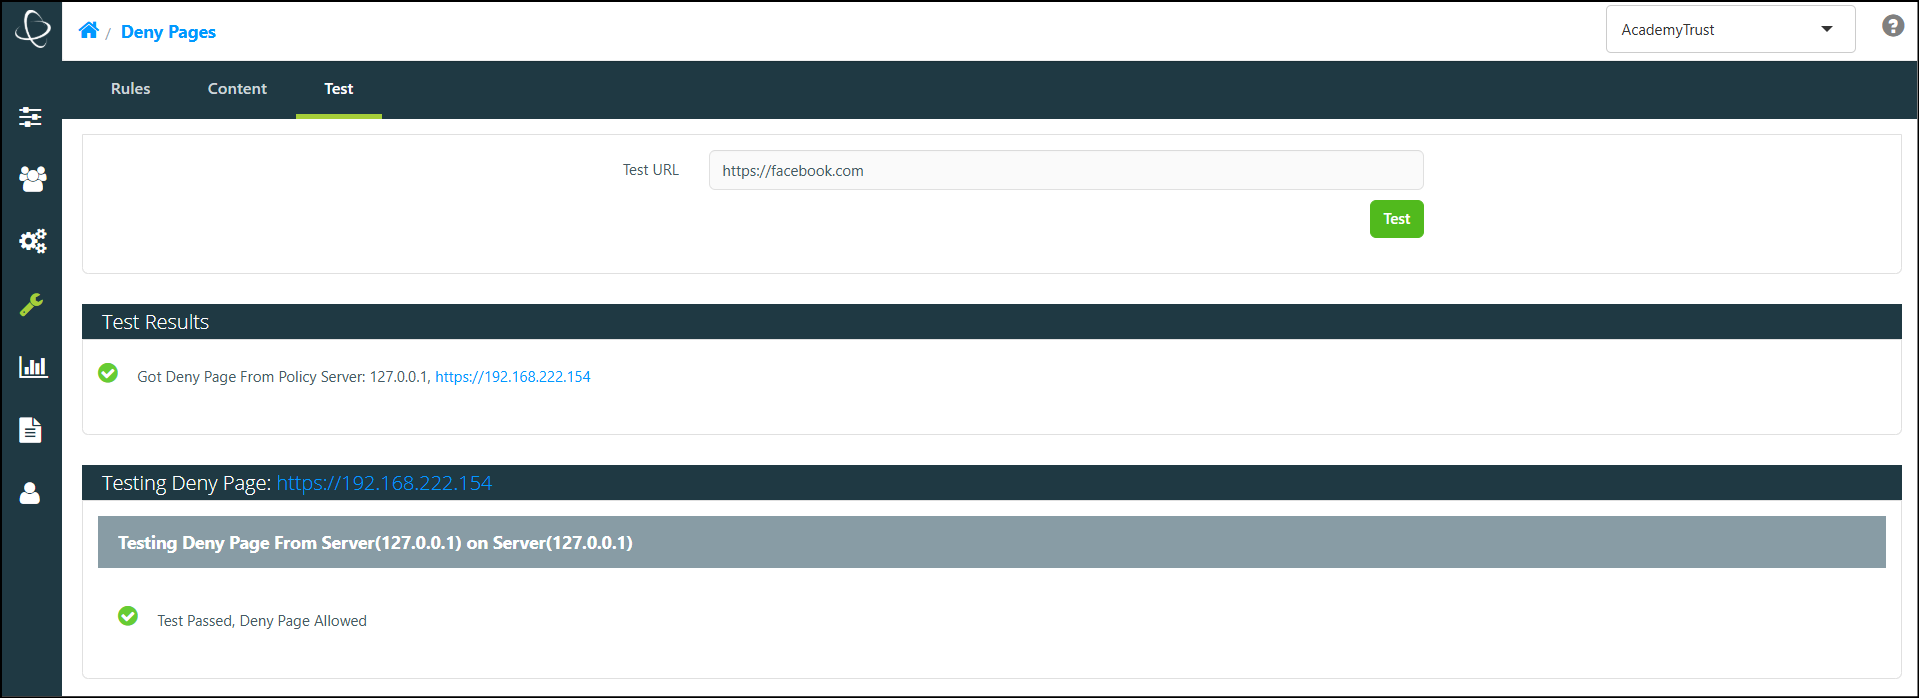
The Test URL you provide must be denied by the default Group for this tool to work properly.
Additional Deny Page Types
Deny Pages used for External Applications
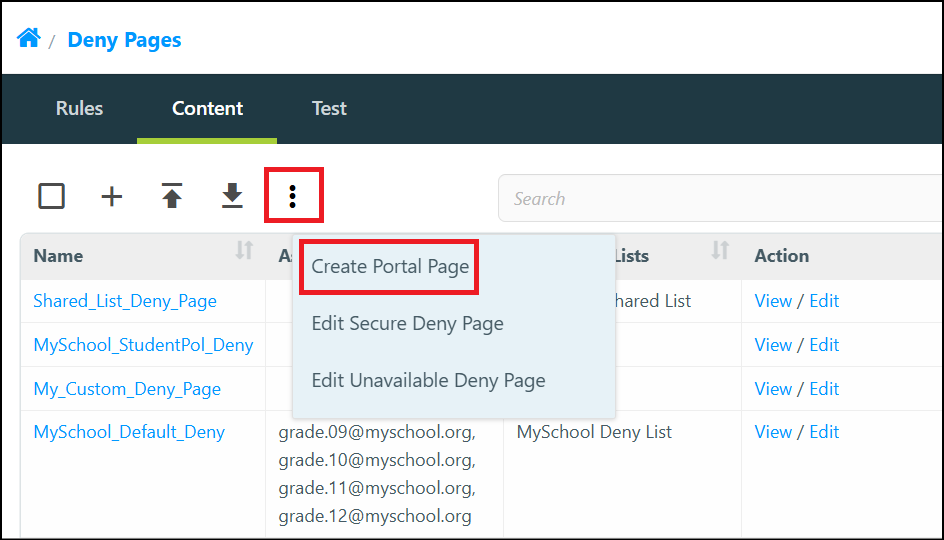
The Edit Unavailable Deny Page and the Edit Secure Deny Page buttons, (found in the Deny page Content tab,) allow you to edit these specific Deny Pages.
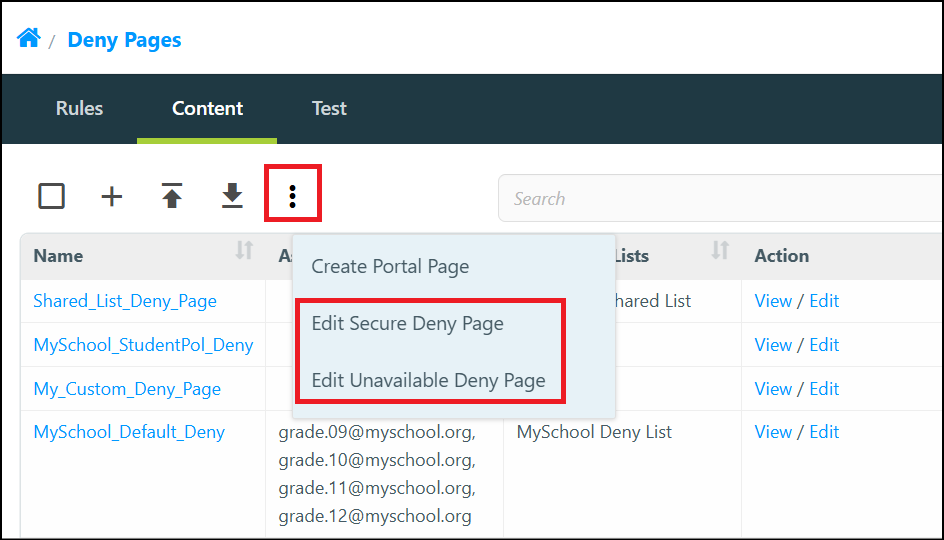
Edit Unavailable Deny Page
This window allows you to modify the ‘Unavailable Deny Page’ content. This Deny Page can be used by external applications that may need to show content when they cannot communicate with the Policy Server. The content is available by loading the URL https://SERVER/webadmin/deny/unavail.php.
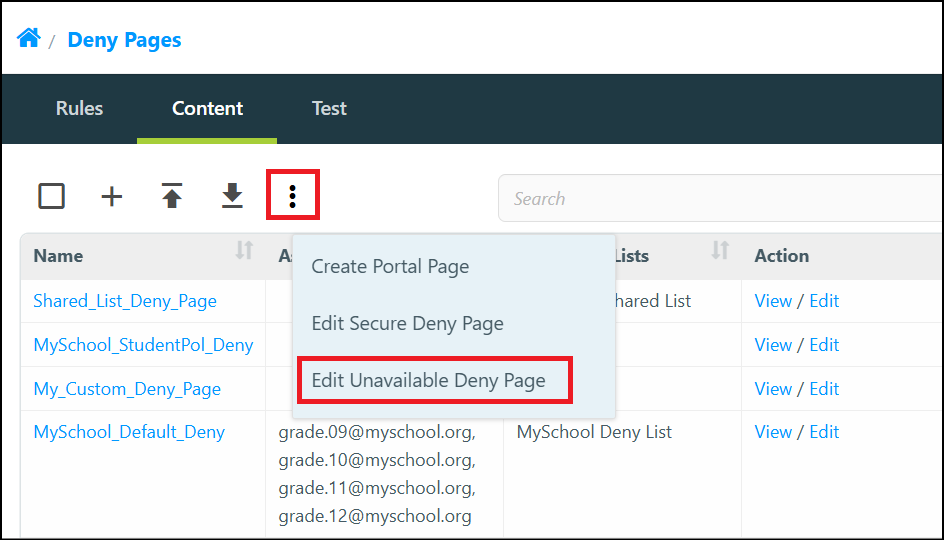
Edit Secure Deny Page’
The ‘Secure Deny Page’ content is used when filtering explicit proxy HTTPS requests that are filtered by only the hostname. This Deny Page cannot have any path or CGI arguments, as it is only possible to replace the hostname and port. It is important to remember that secure Deny Pages cannot have a path or any type of CGI Arguments. The Netsweeper system is configured such that the https://server/ URL is the secure Deny Page URL and any associated ‘path’ will also display the secure Deny Page, (other than the 'https://server/webadmin' or 'https://server/remotereporter' and other associated paths).
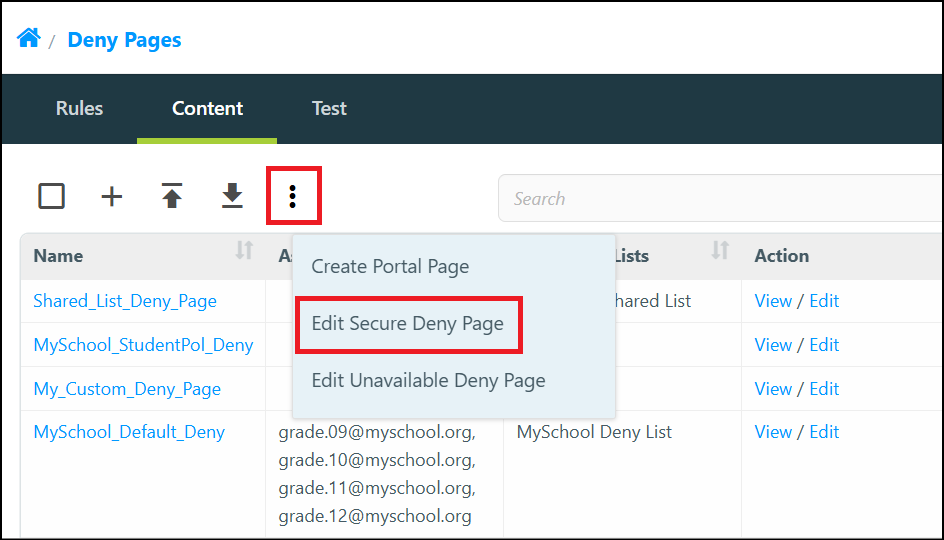
Create Portal Page
The Portal Deny Page is the default portal page for Groups that do not have their own customized Portal Page.
The Deny Page Editor
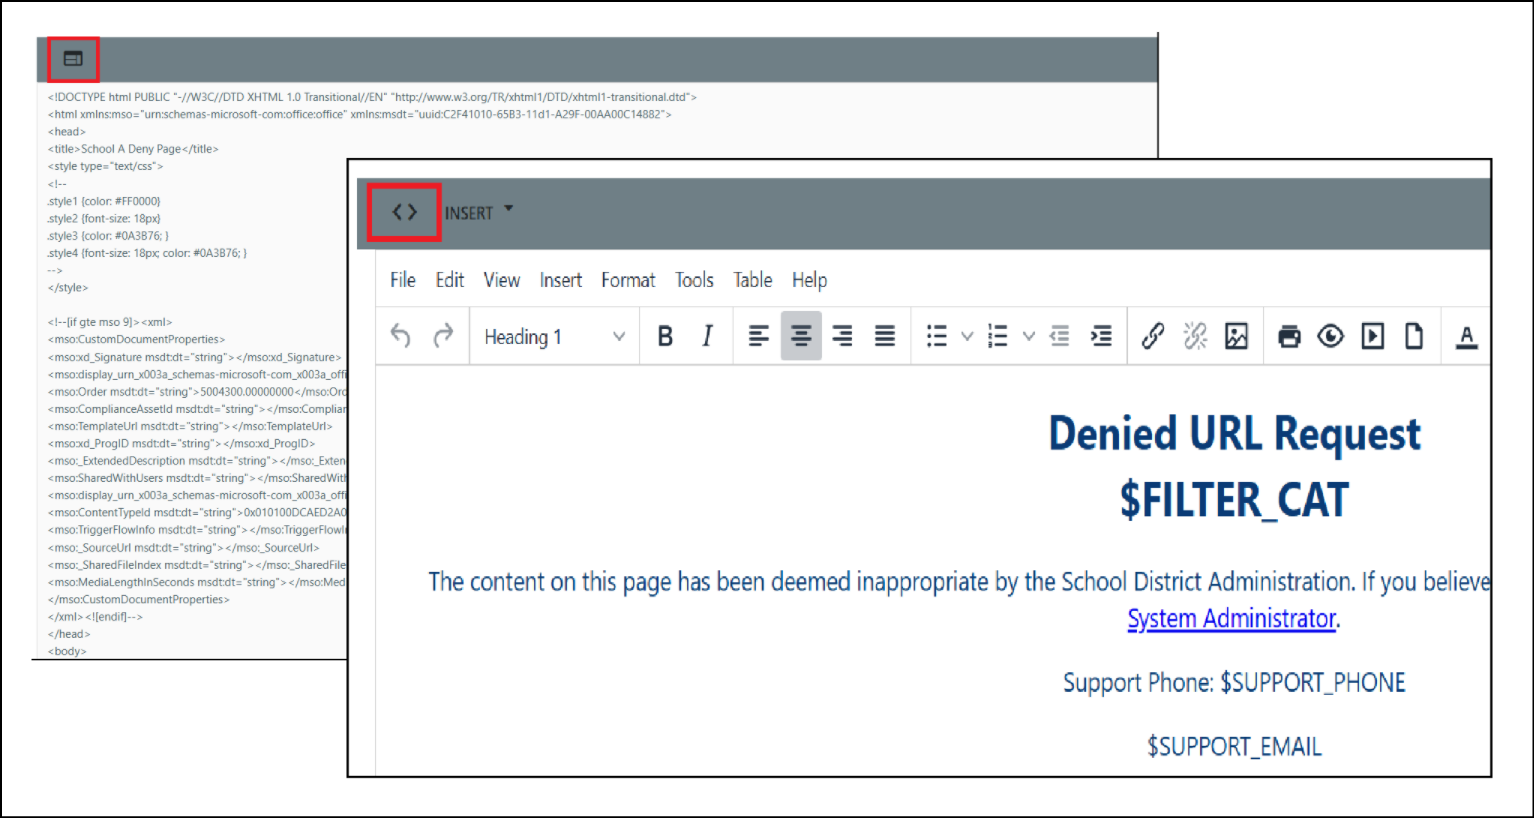
Rich Text and Plain Text Display
The Table Header in the Deny Page Editor allows you to toggle between Plain Text and Rich Text mode.
Rich Text Insert Tool
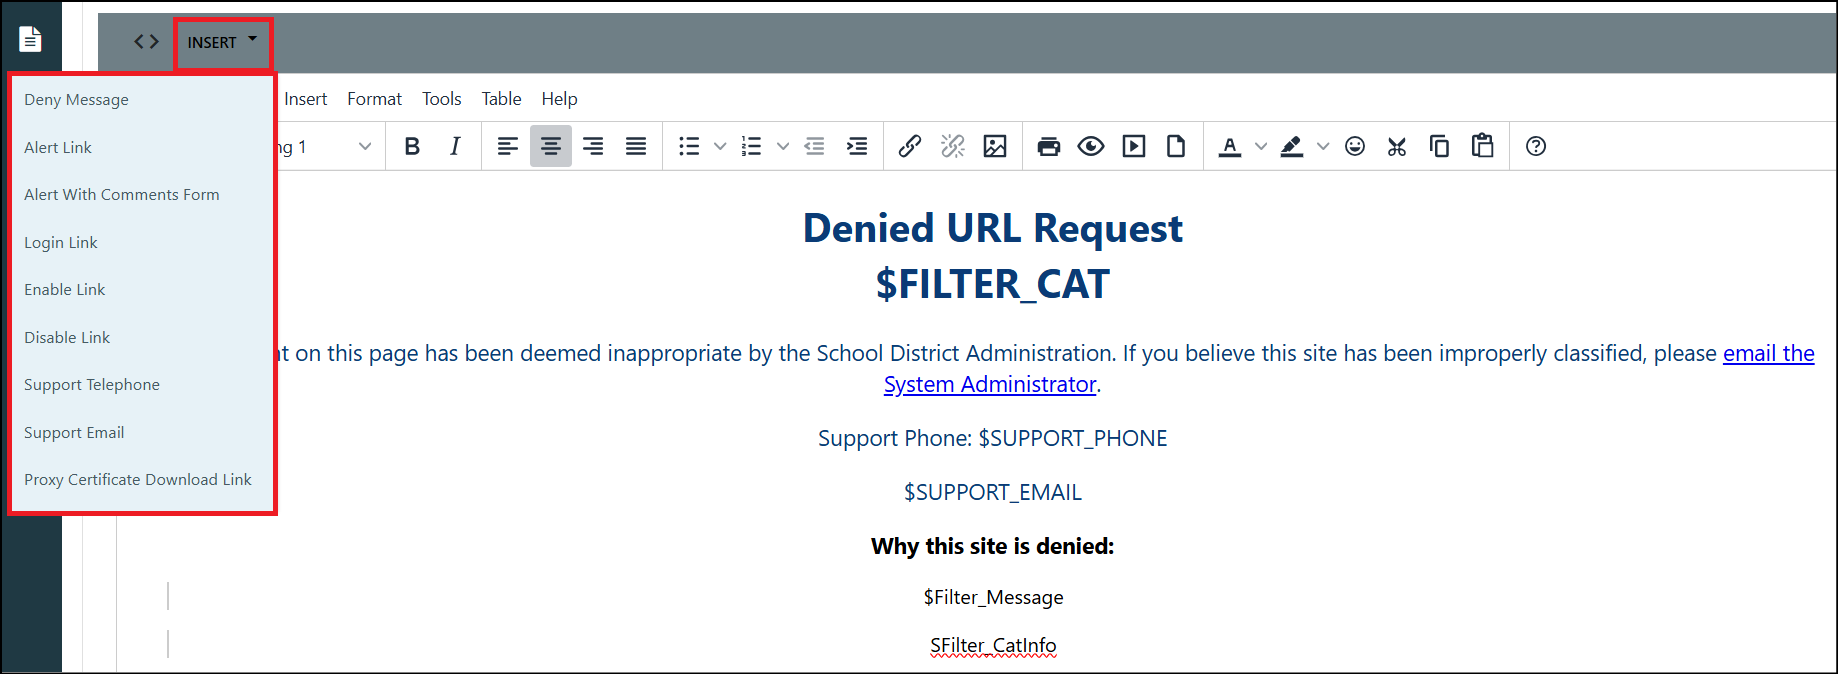
In Rich Text mode, an Insert menu option displays, allowing you to insert hypertext links into your Deny Page.
Additional Information
For more information on the Rich Text Editor's Advanced Features, as well as descriptions of available options, please refer to our Managing Deny Pages documentation.