Creating Groups
 See Also
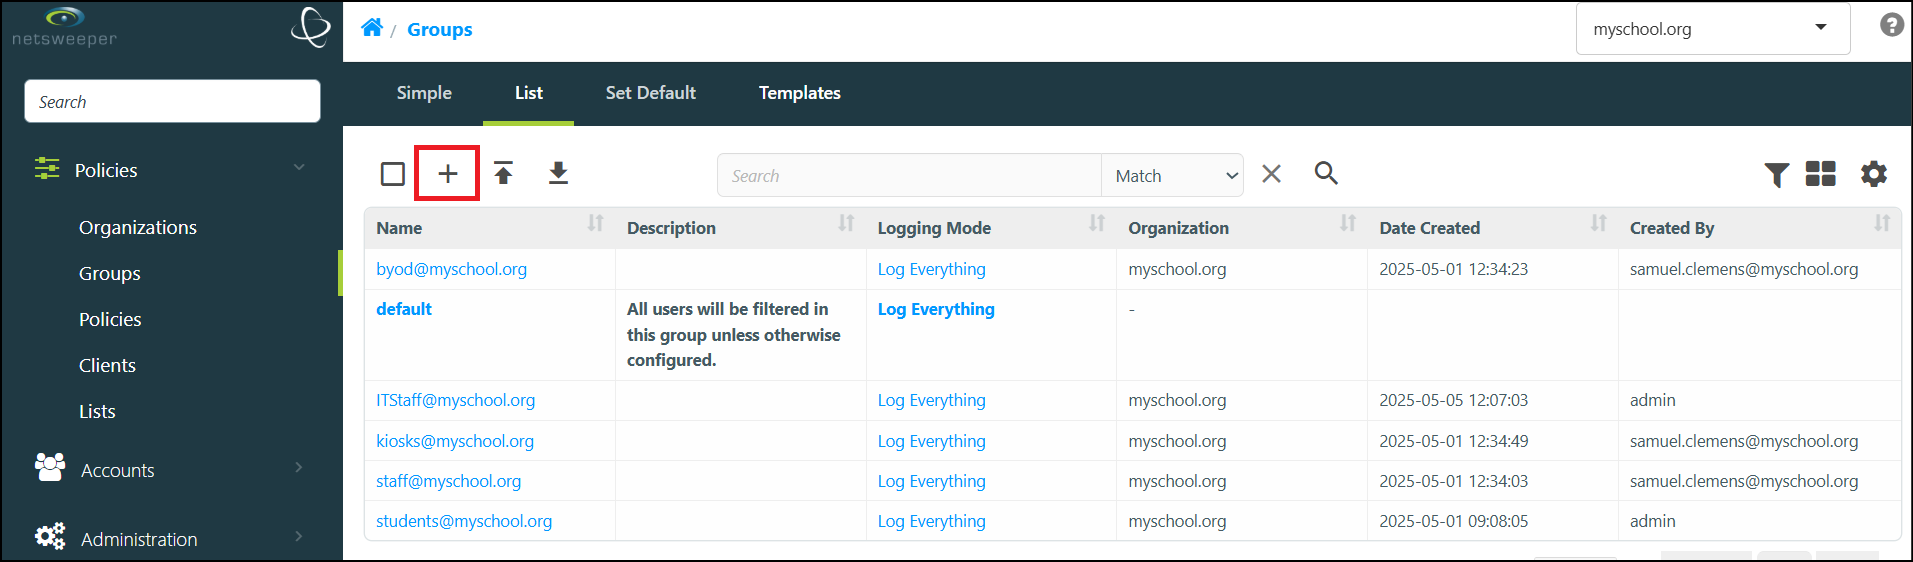
- Navigate to Policies > Groups > List and select the Create (+) icon to access the 'Group Create' window.
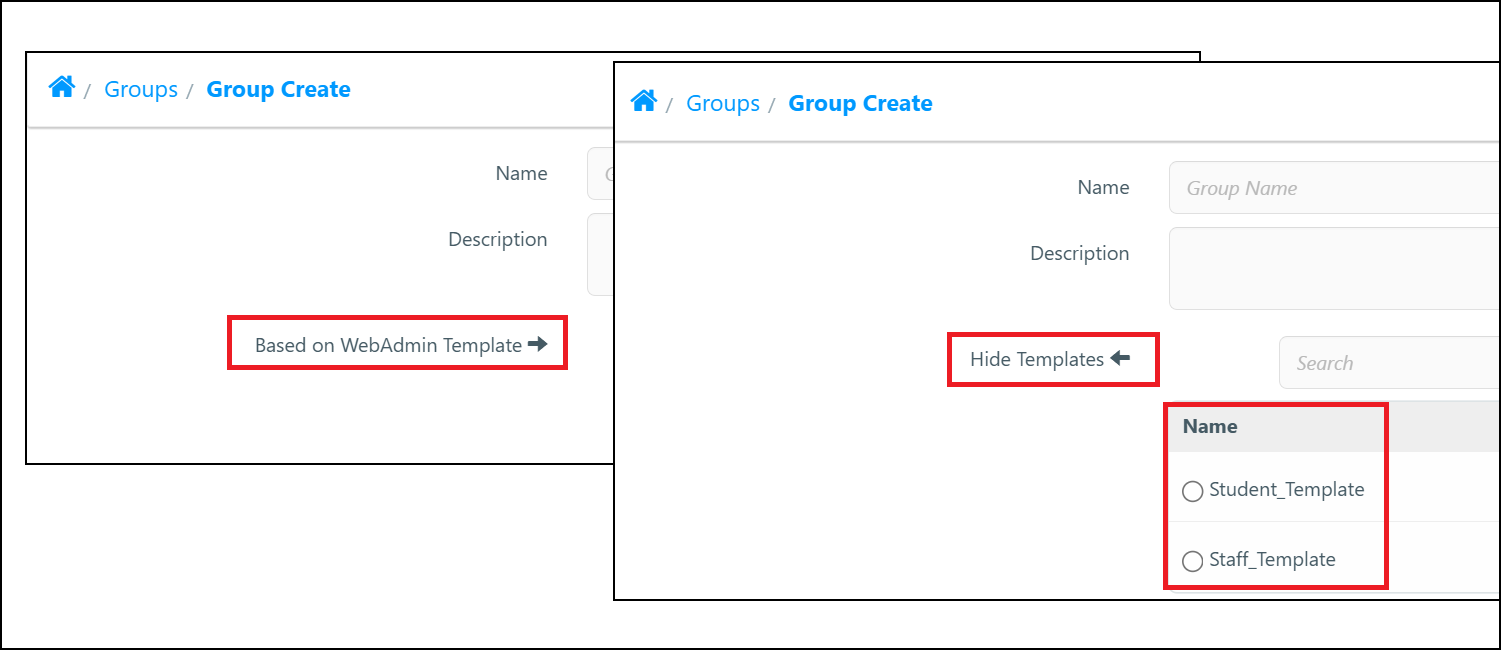
- If you are using WebAdmin Templates, the Based on WebAdmin Template / Hide Templates toggle options will display. (See Group Templates).
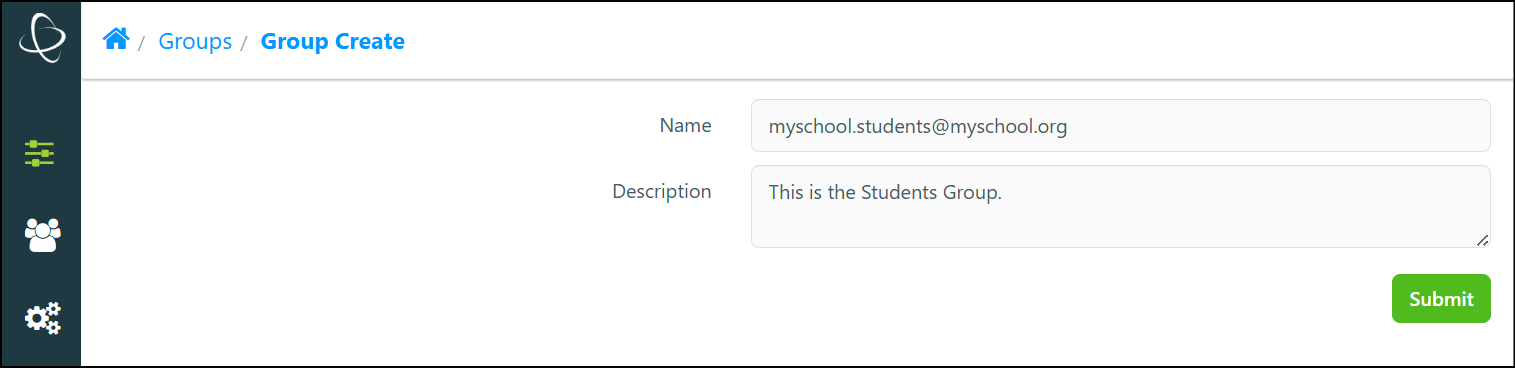
- Type a name for the Group (with no spaces) in the Name field. You can optionally add a brief description of the Group in the Description field.
- Select the Submit button to finish creating the new Group.
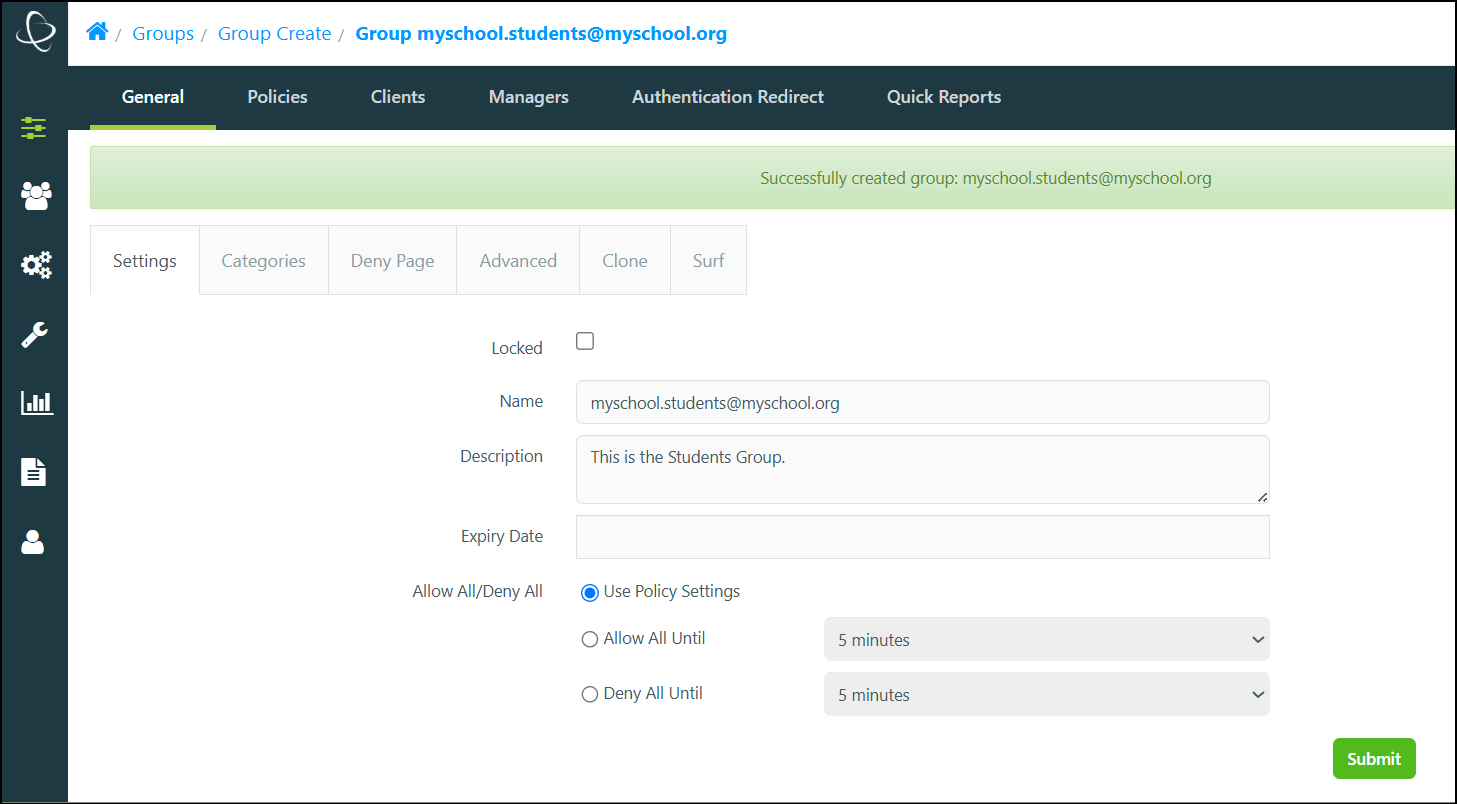
- The 'Successfully created group' message displays and you are brought to the new Group's management window.
- From here, you can configure and manage the Group as desired.
See also
Create a Group From a Client